1600SQ_KDM
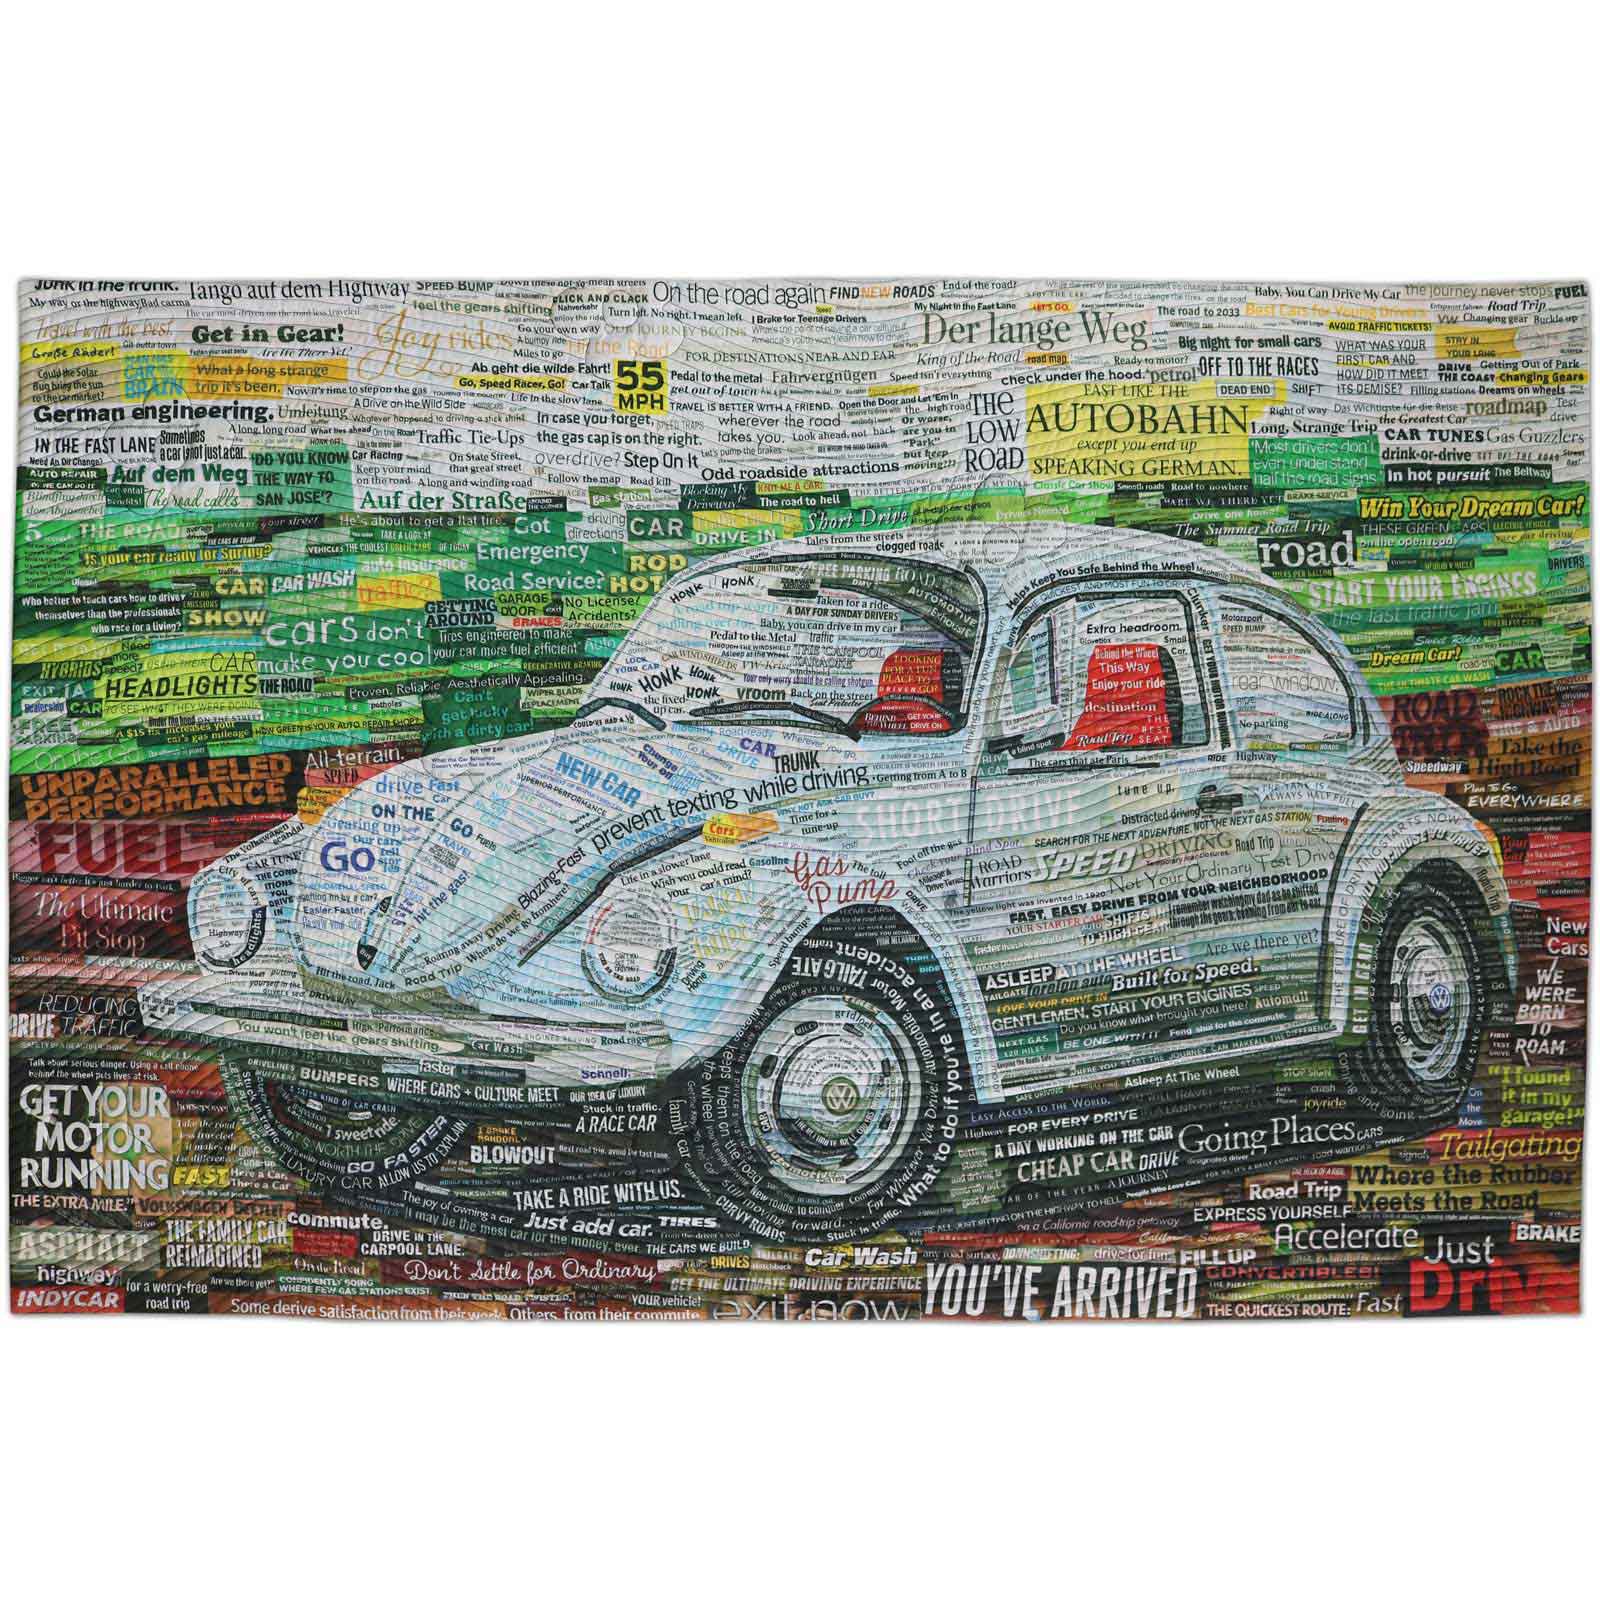
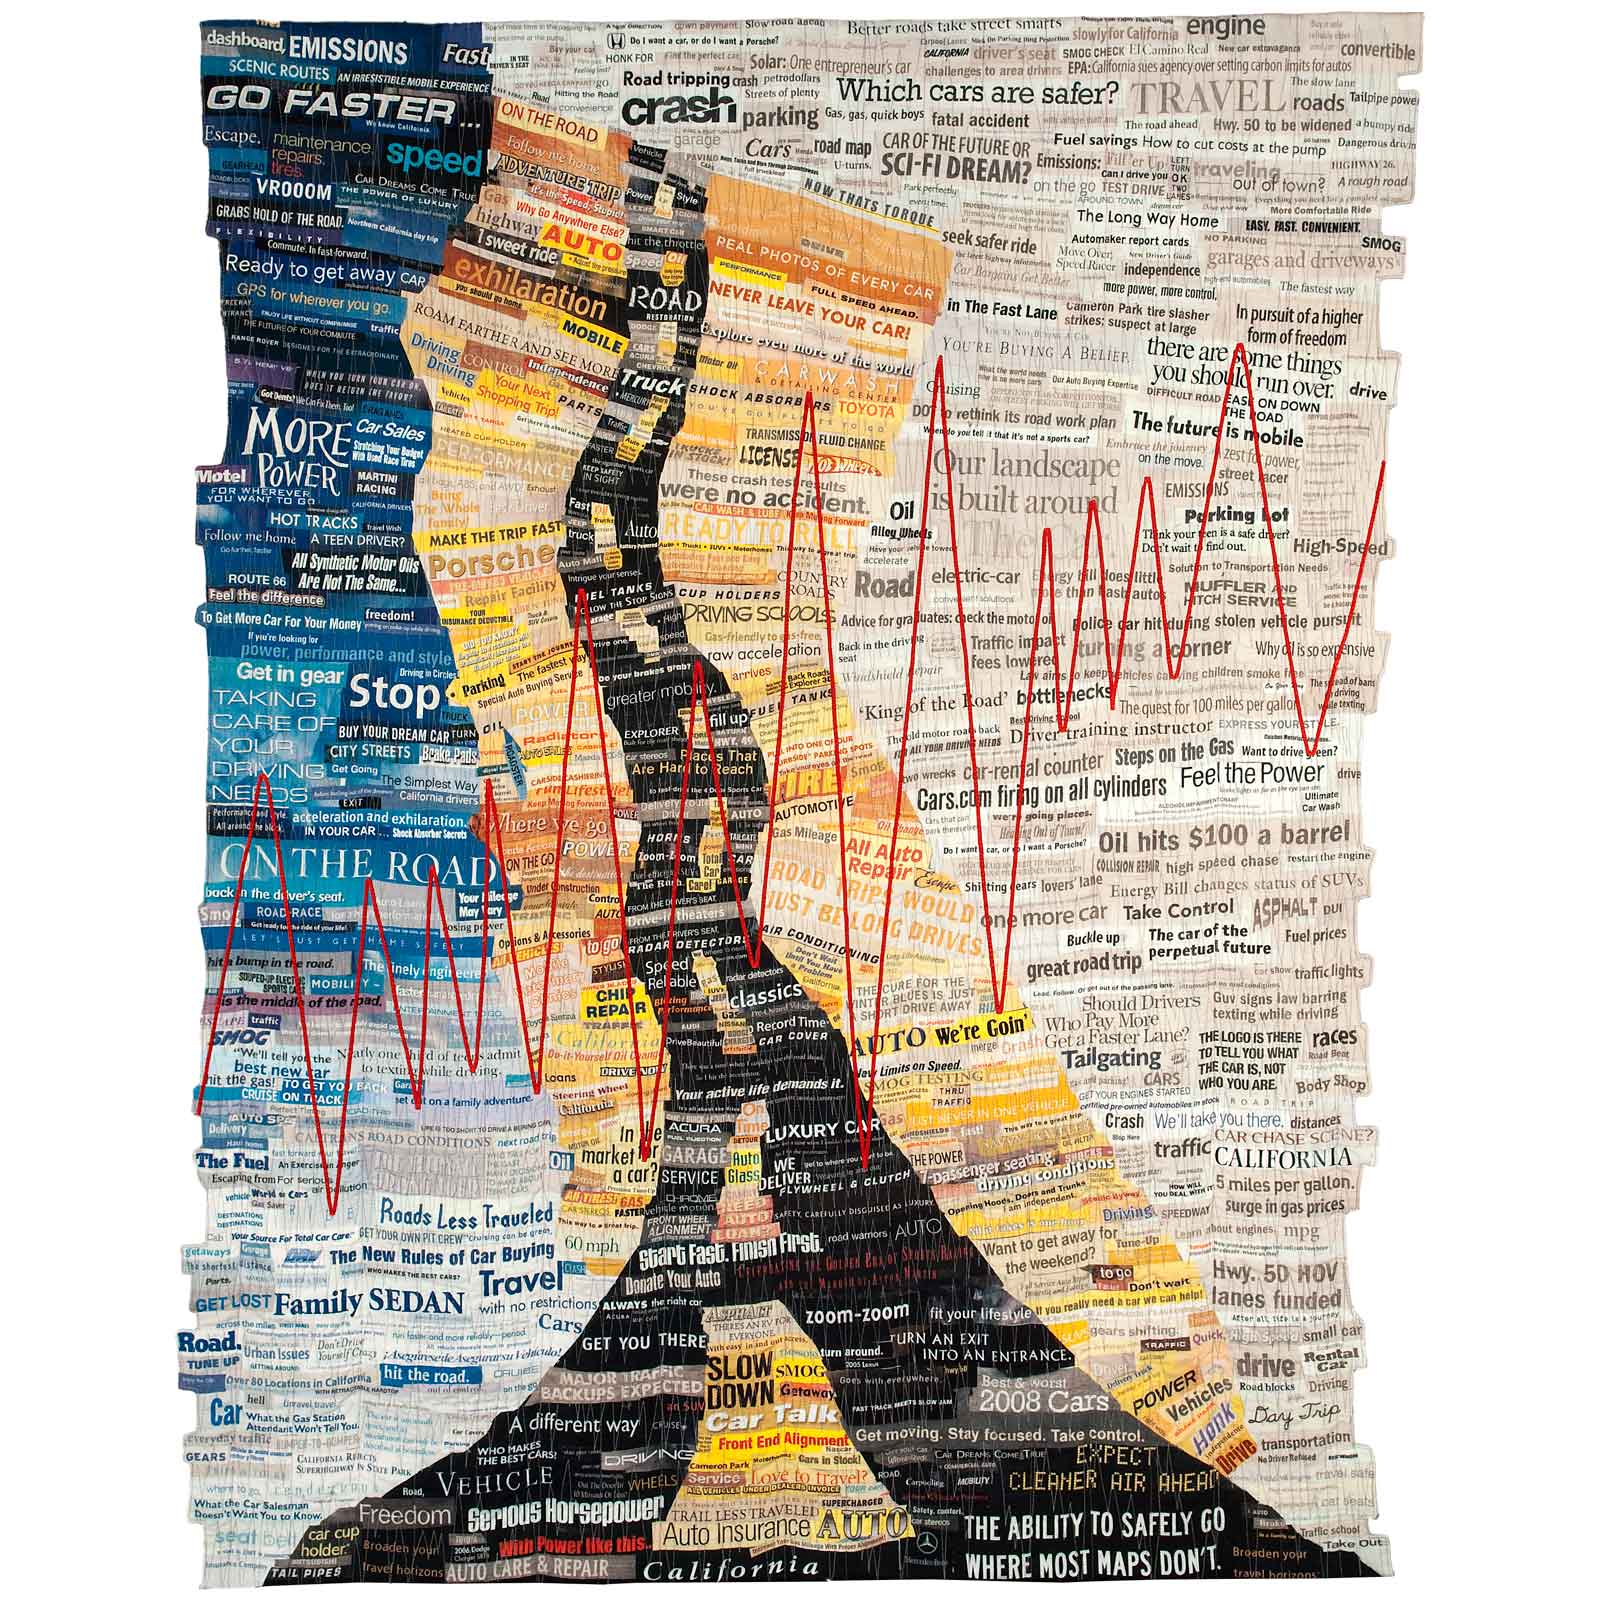
1600SQ_BabyYouCanDriveMyCar
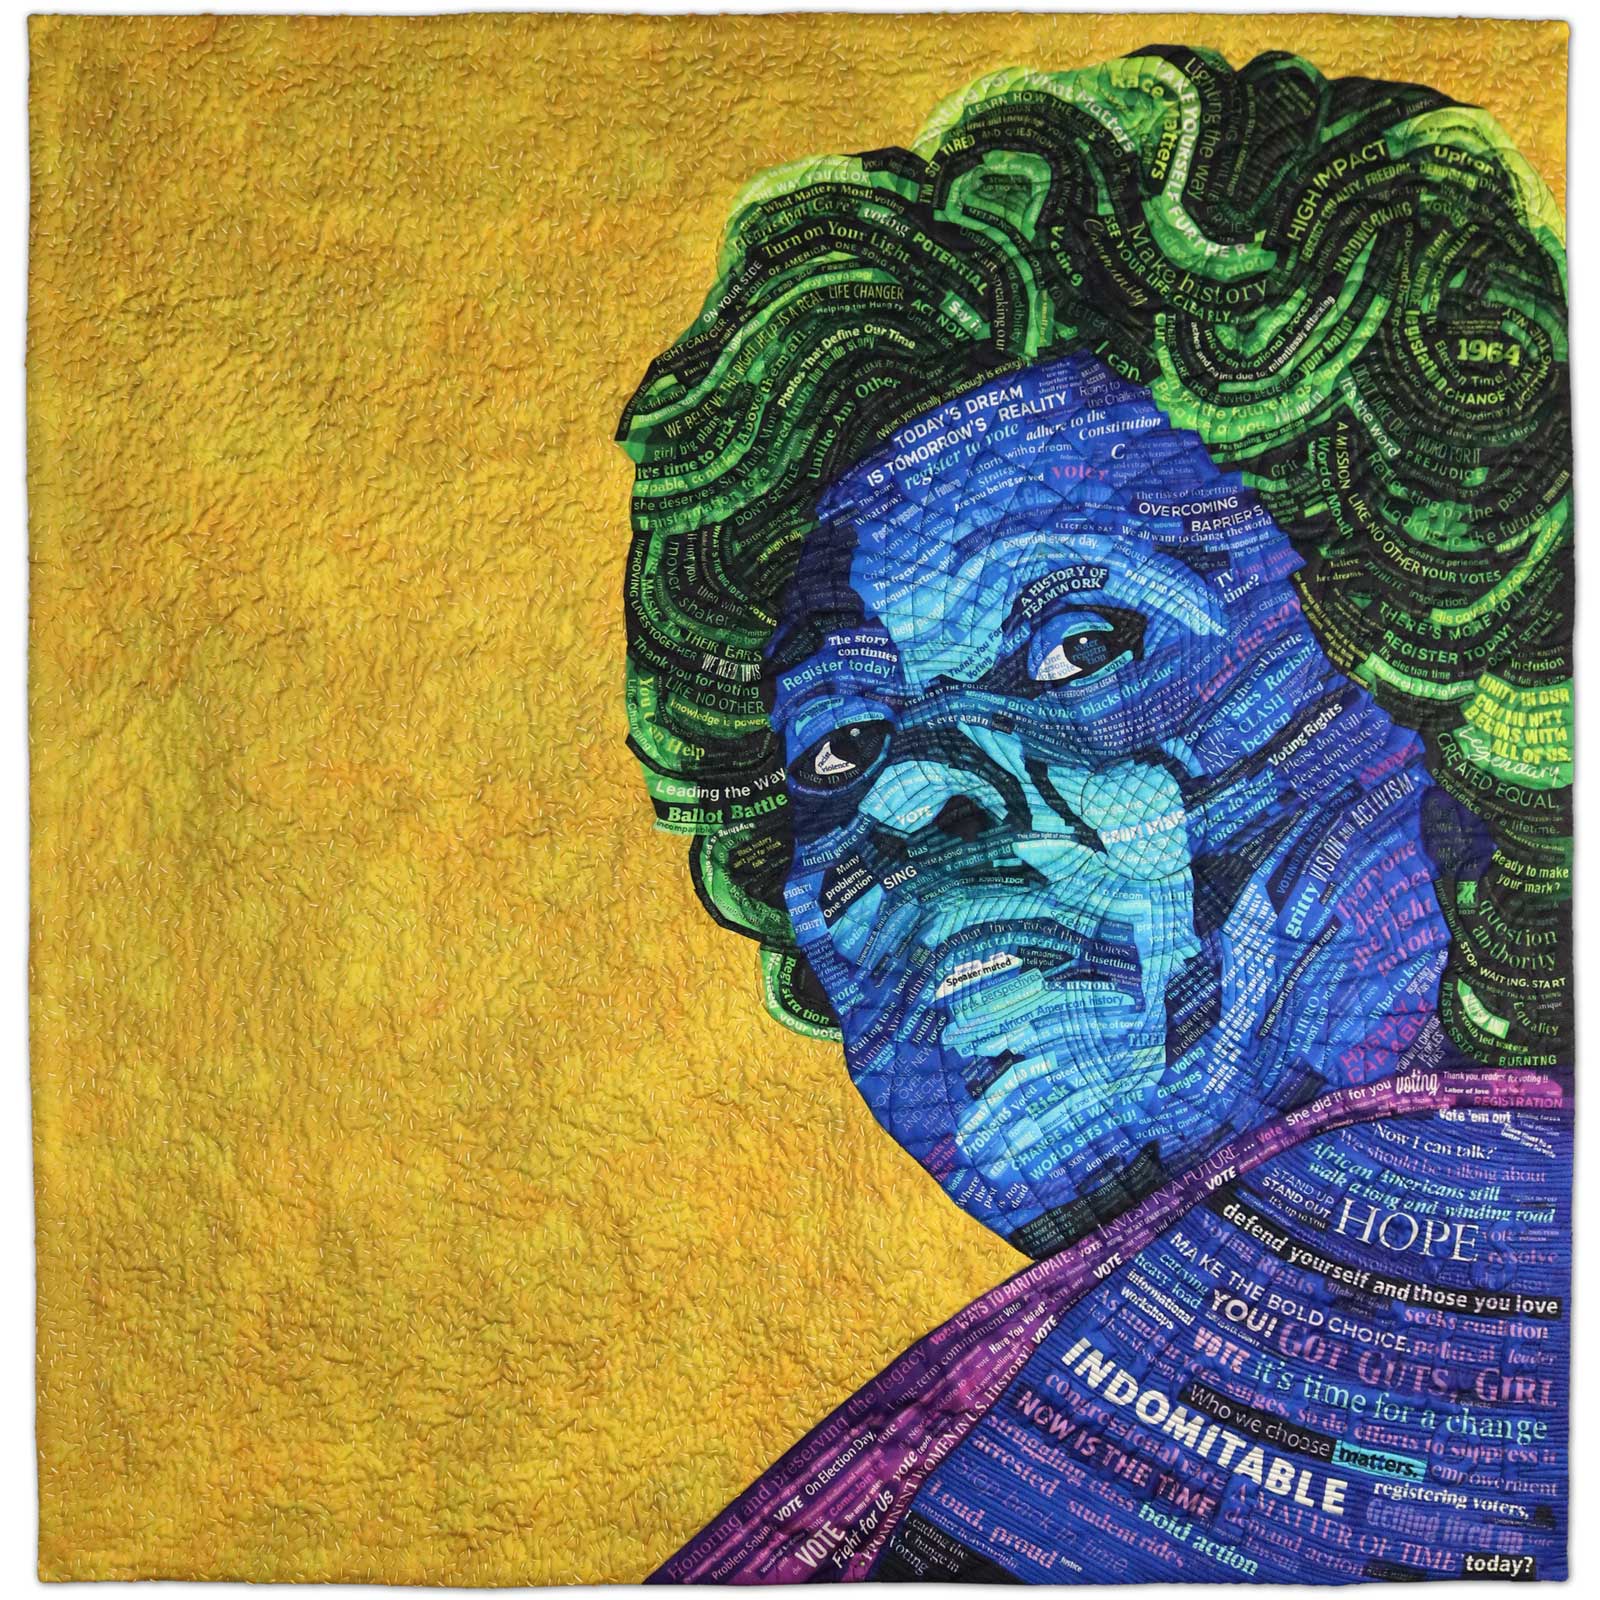
1600SQ_MrsHamer
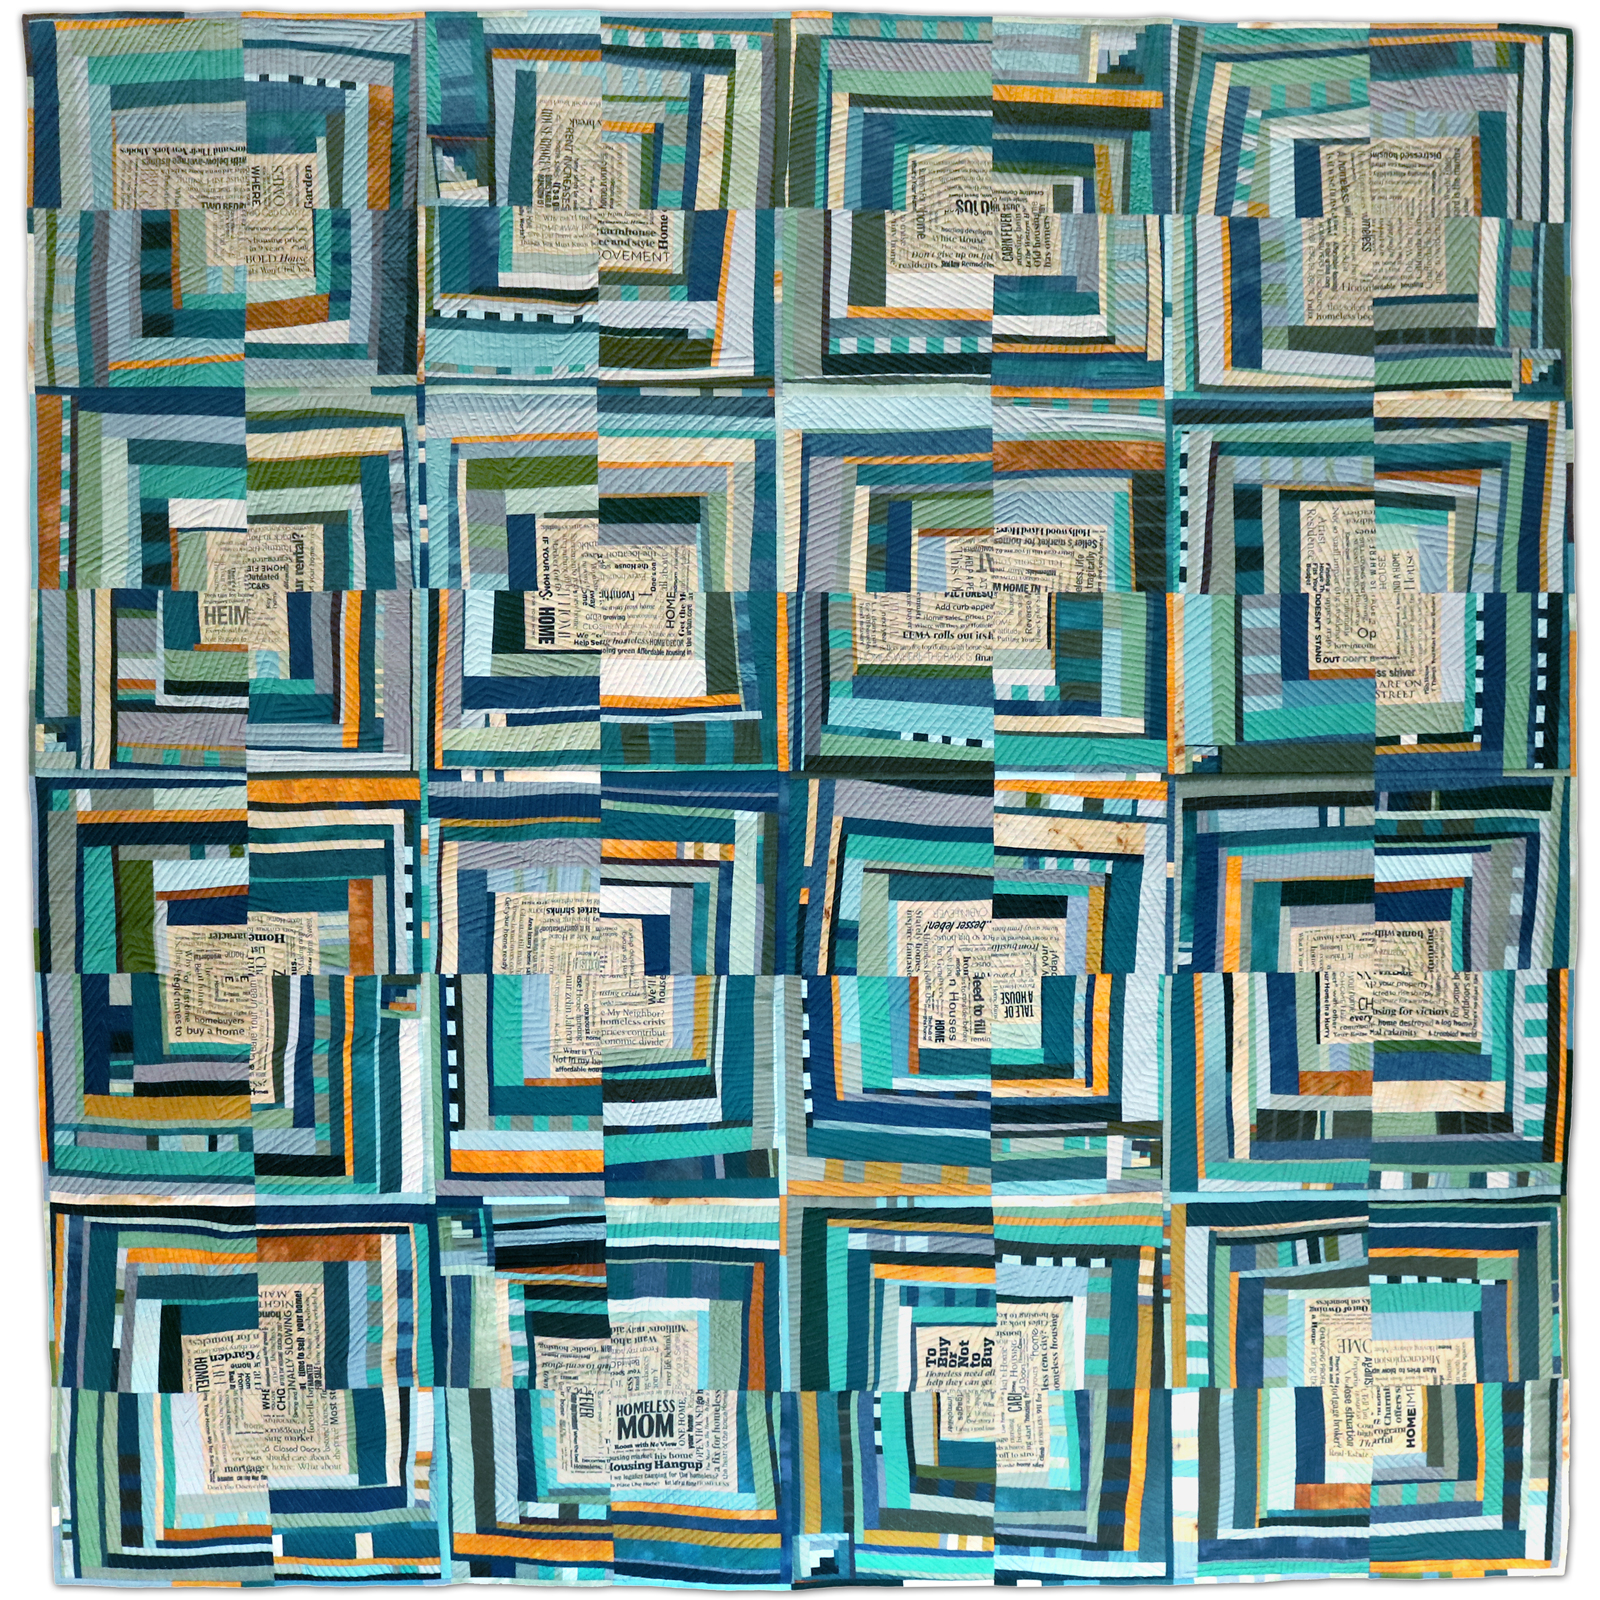
1600SQ_FragilityOfHome
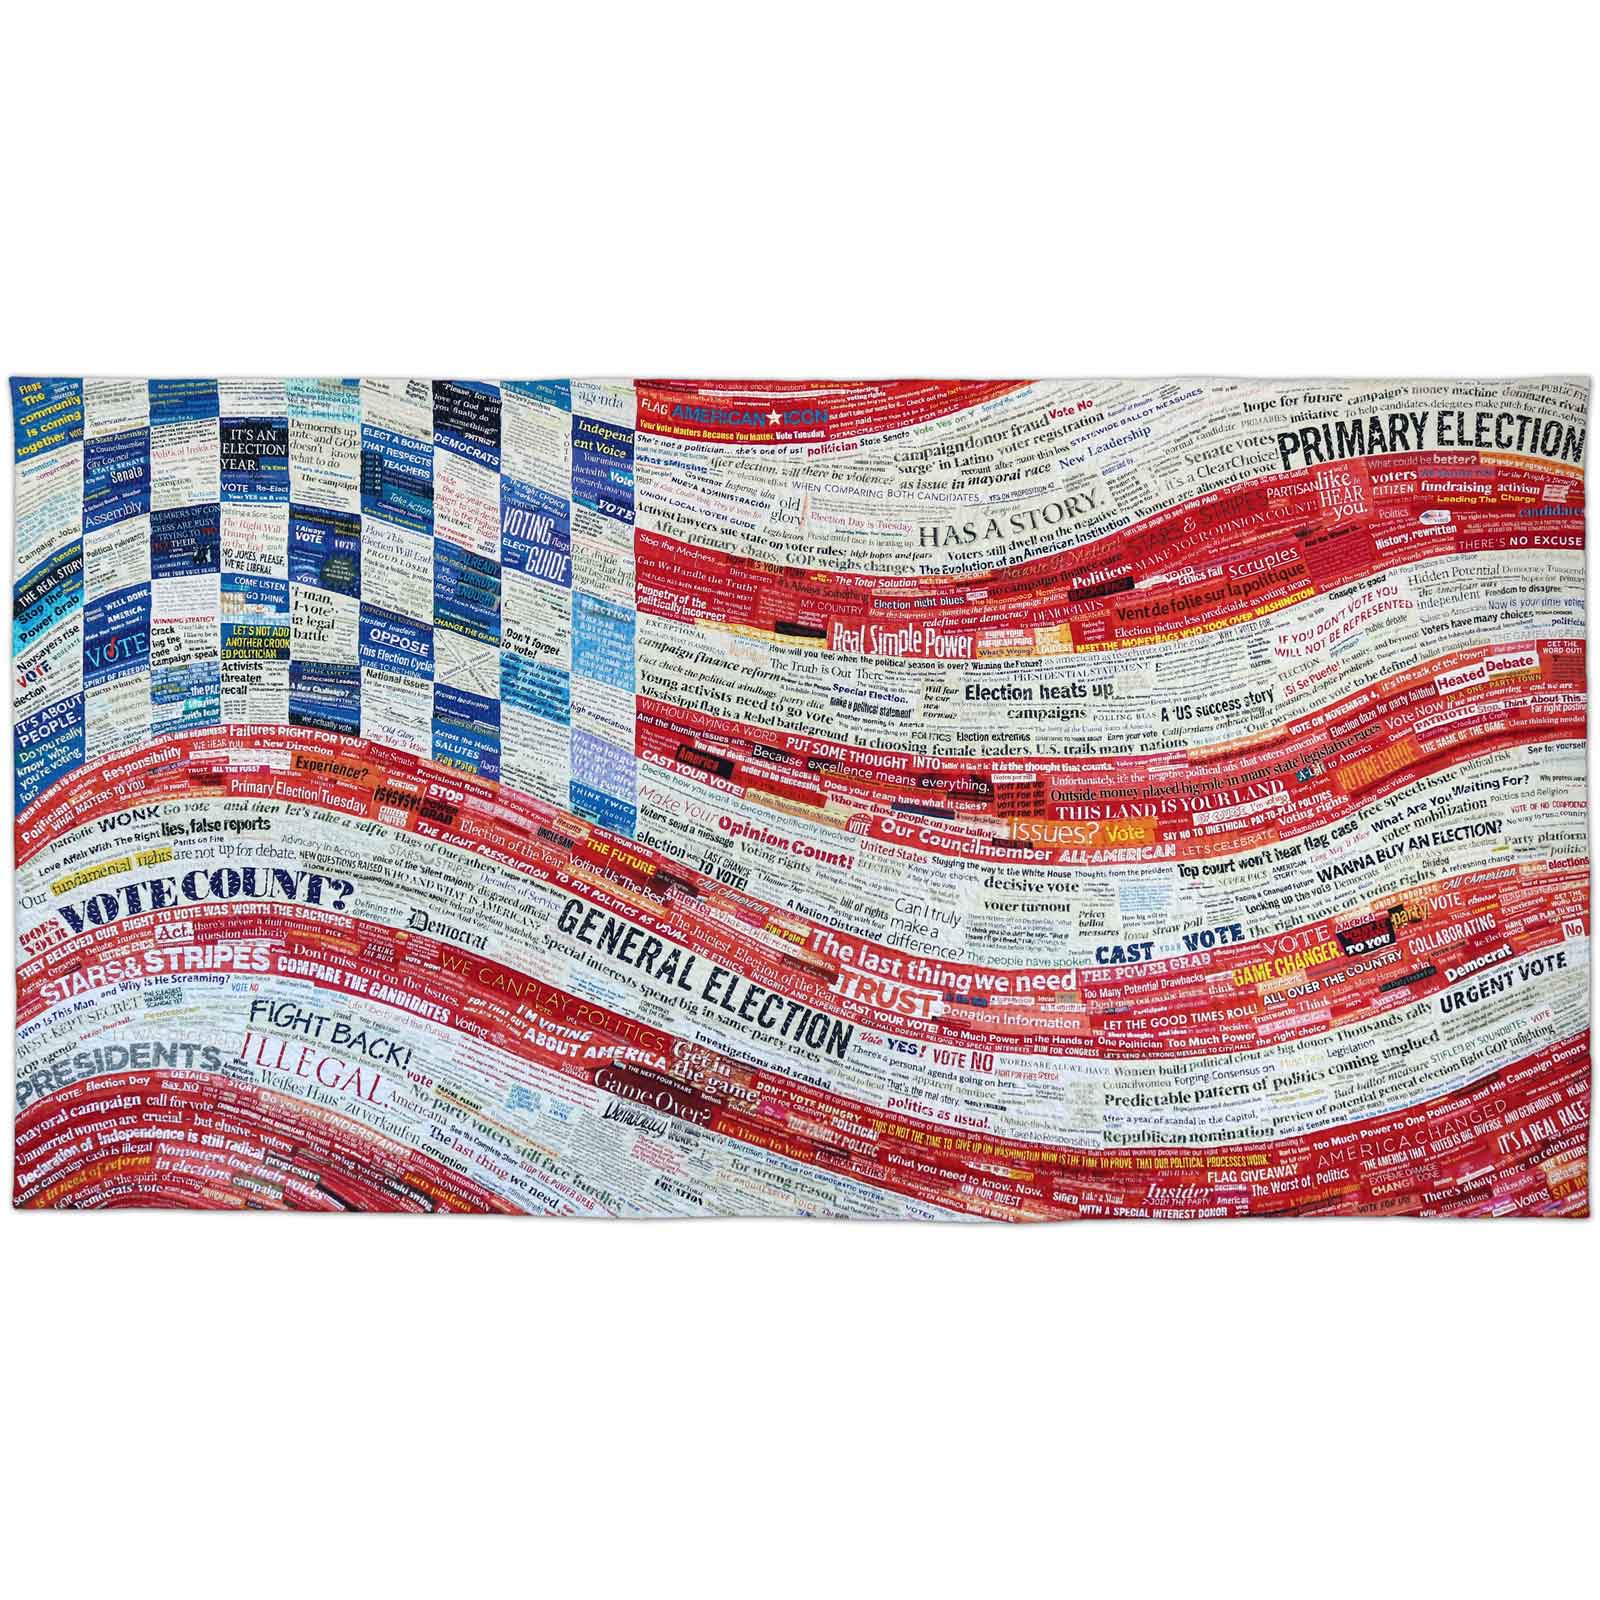
1600SQ_Flag
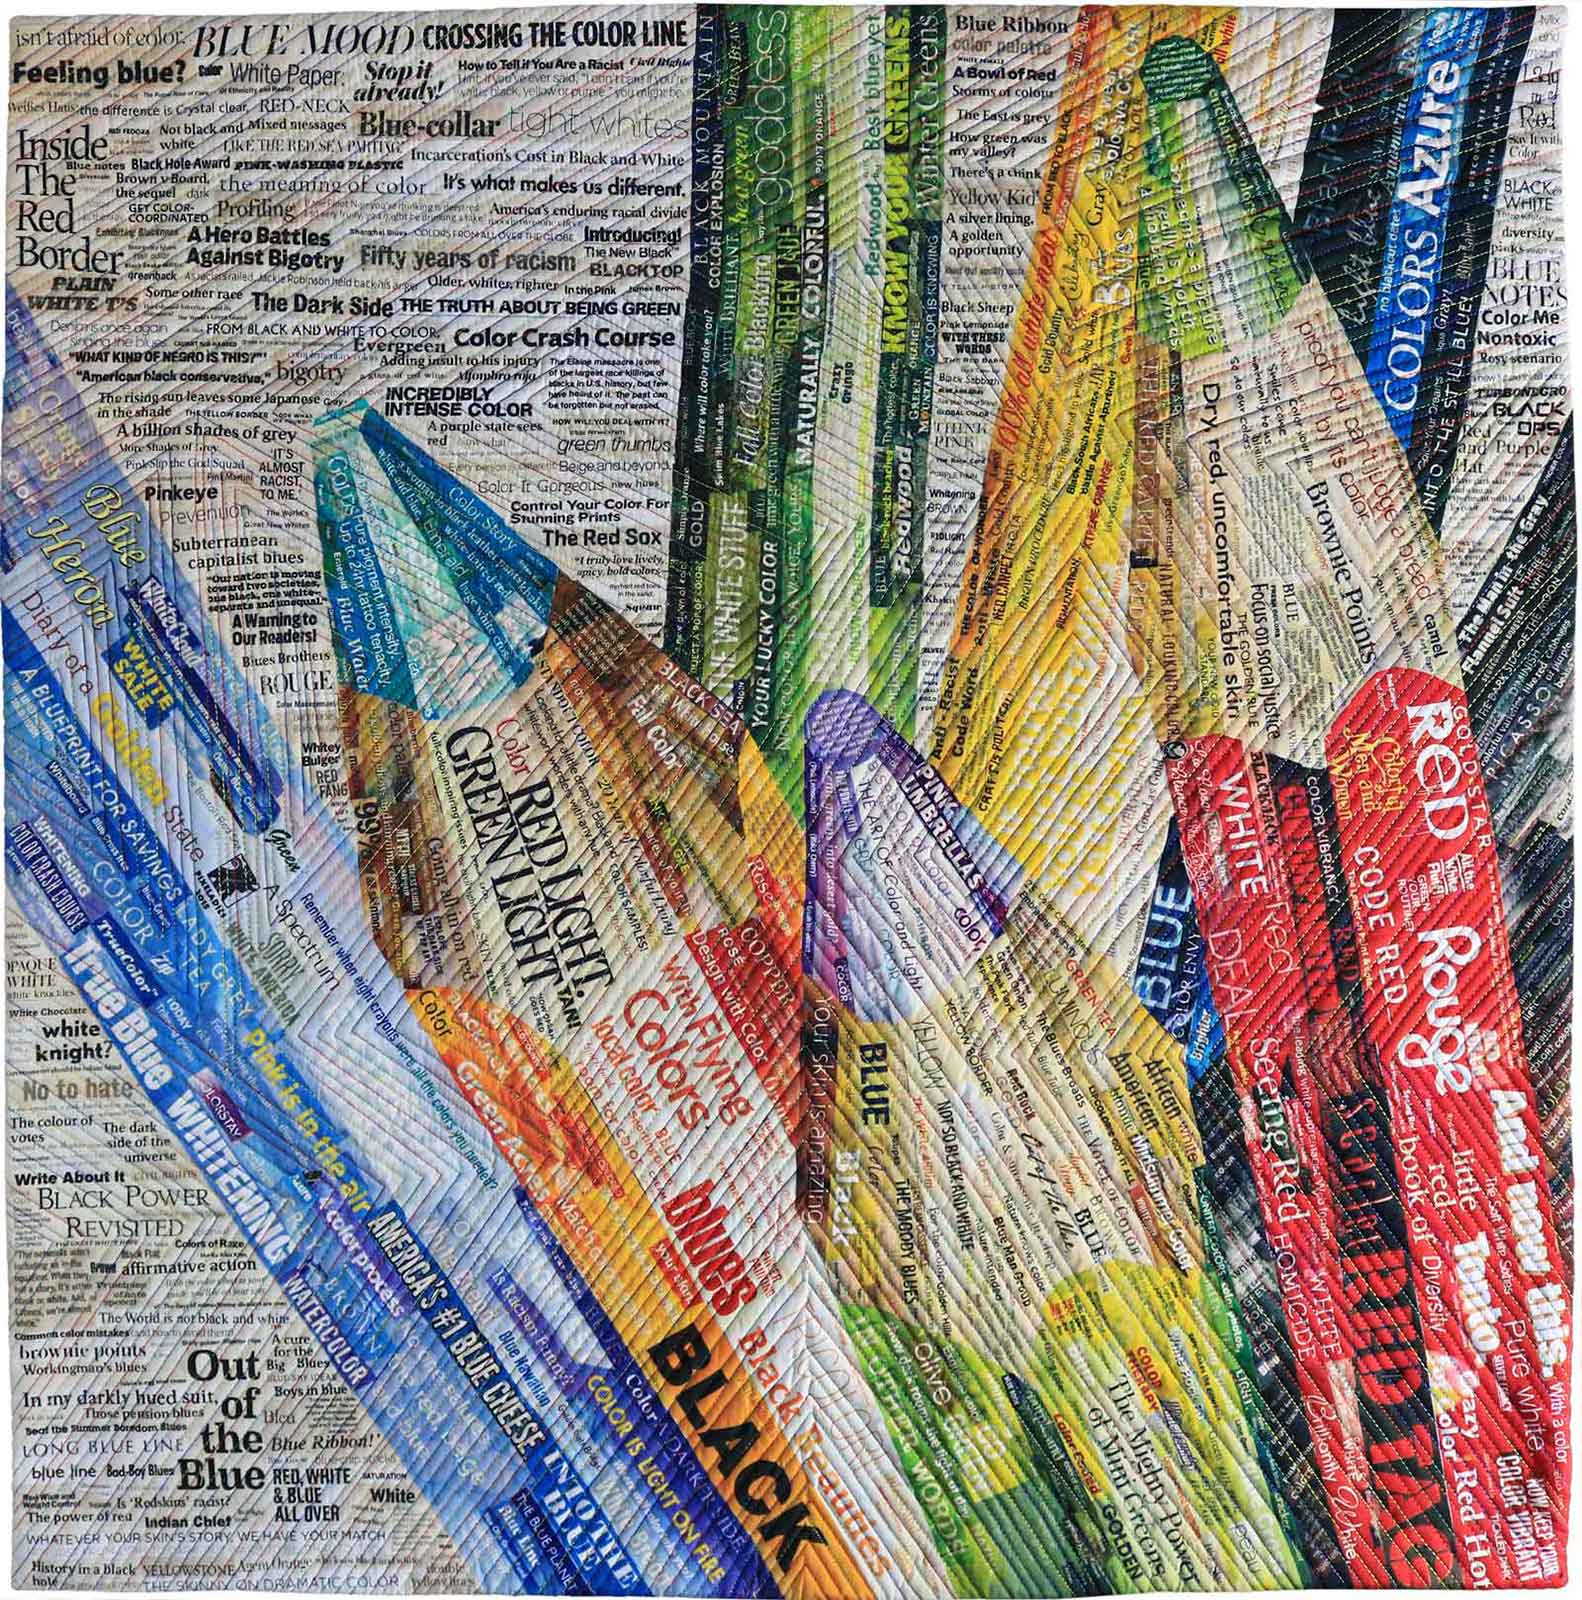
1600SQ_FaultLine
LOC9-full_1600
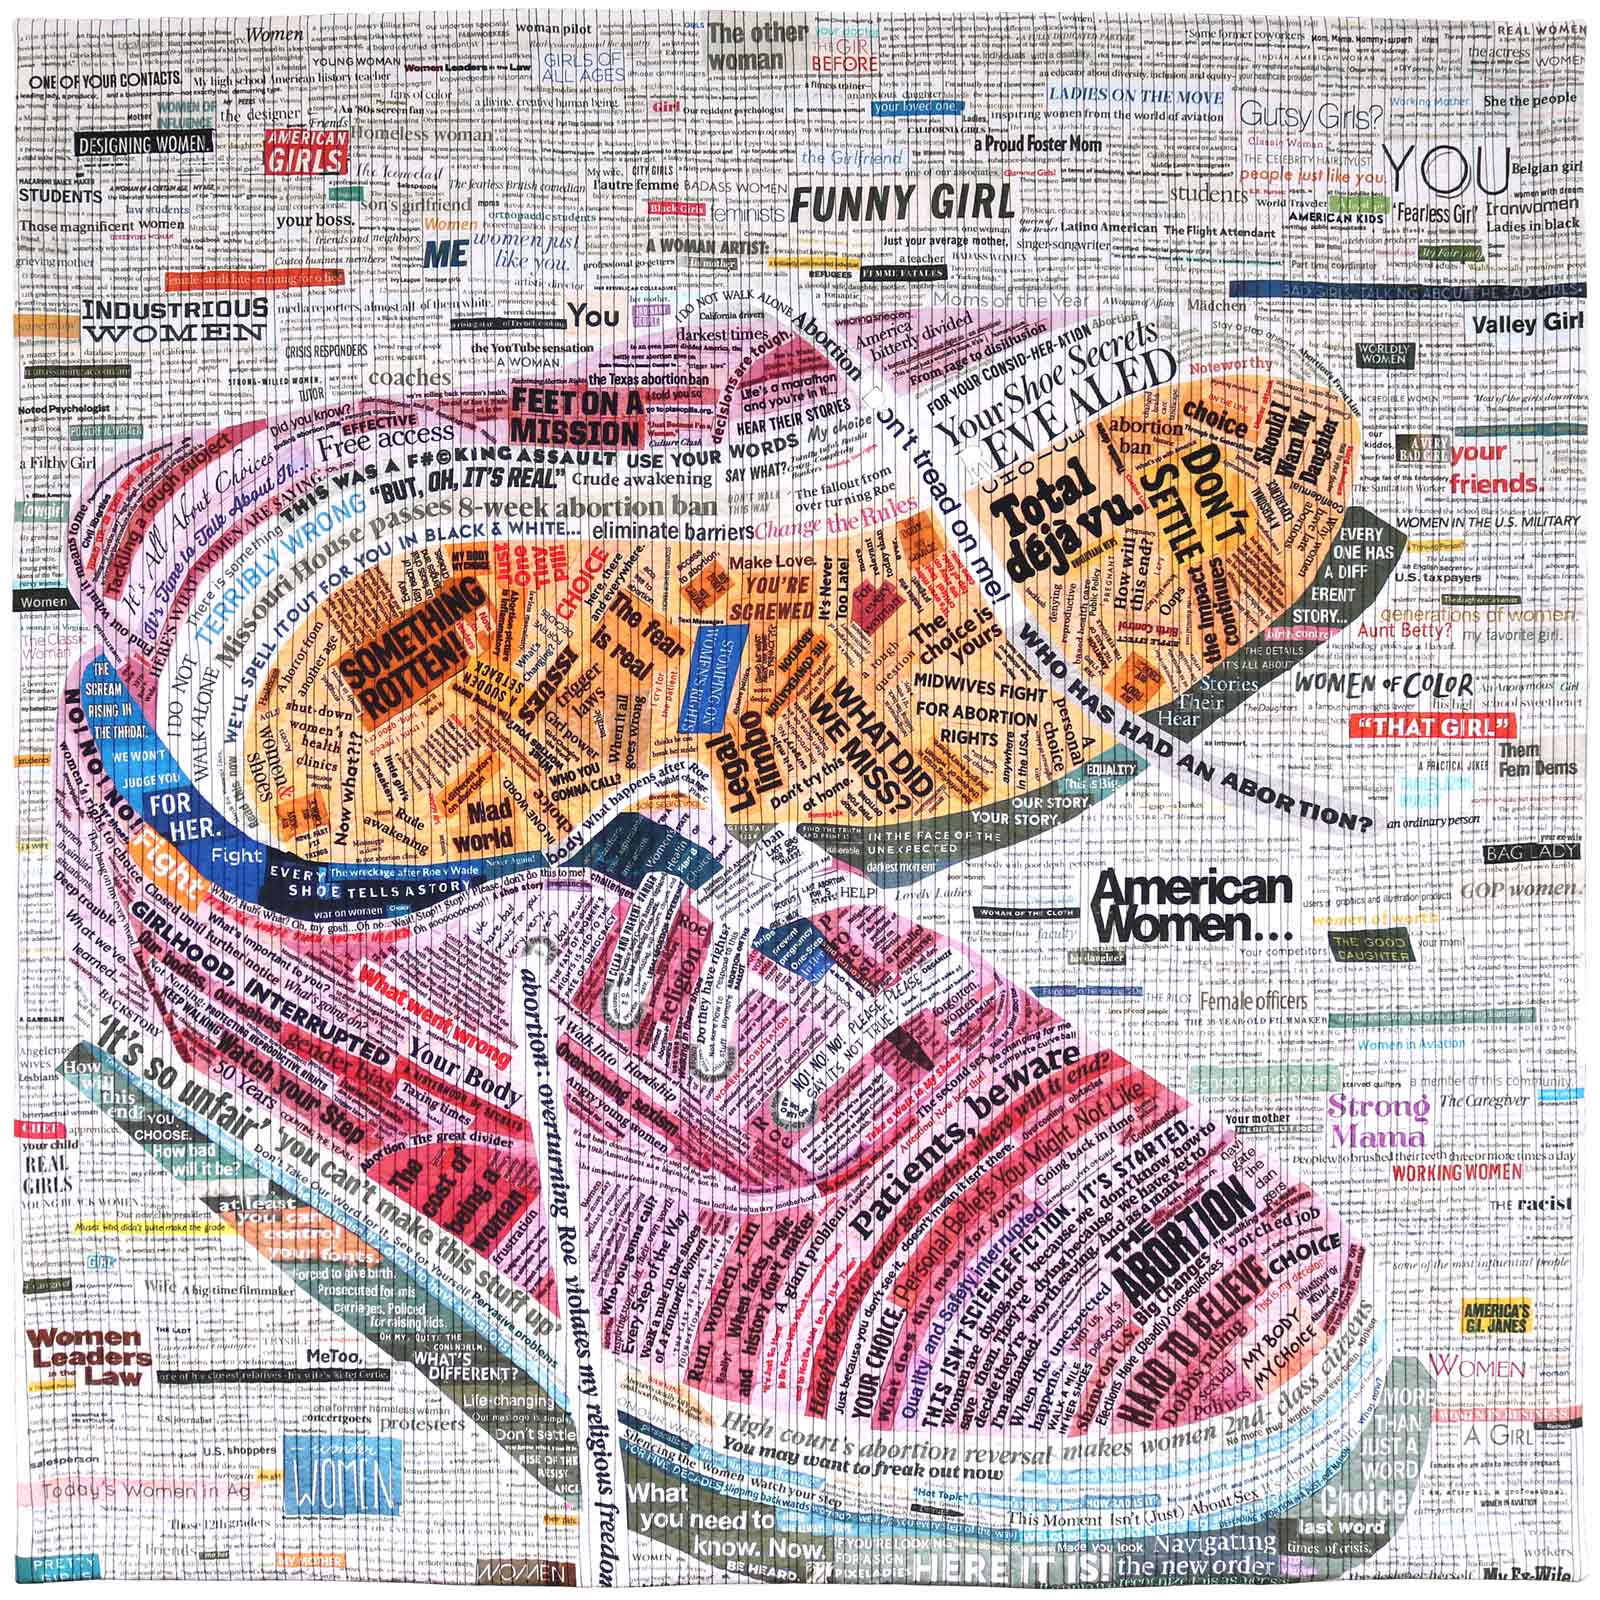
1600SQ_WAMIHS3-AfterDobbs
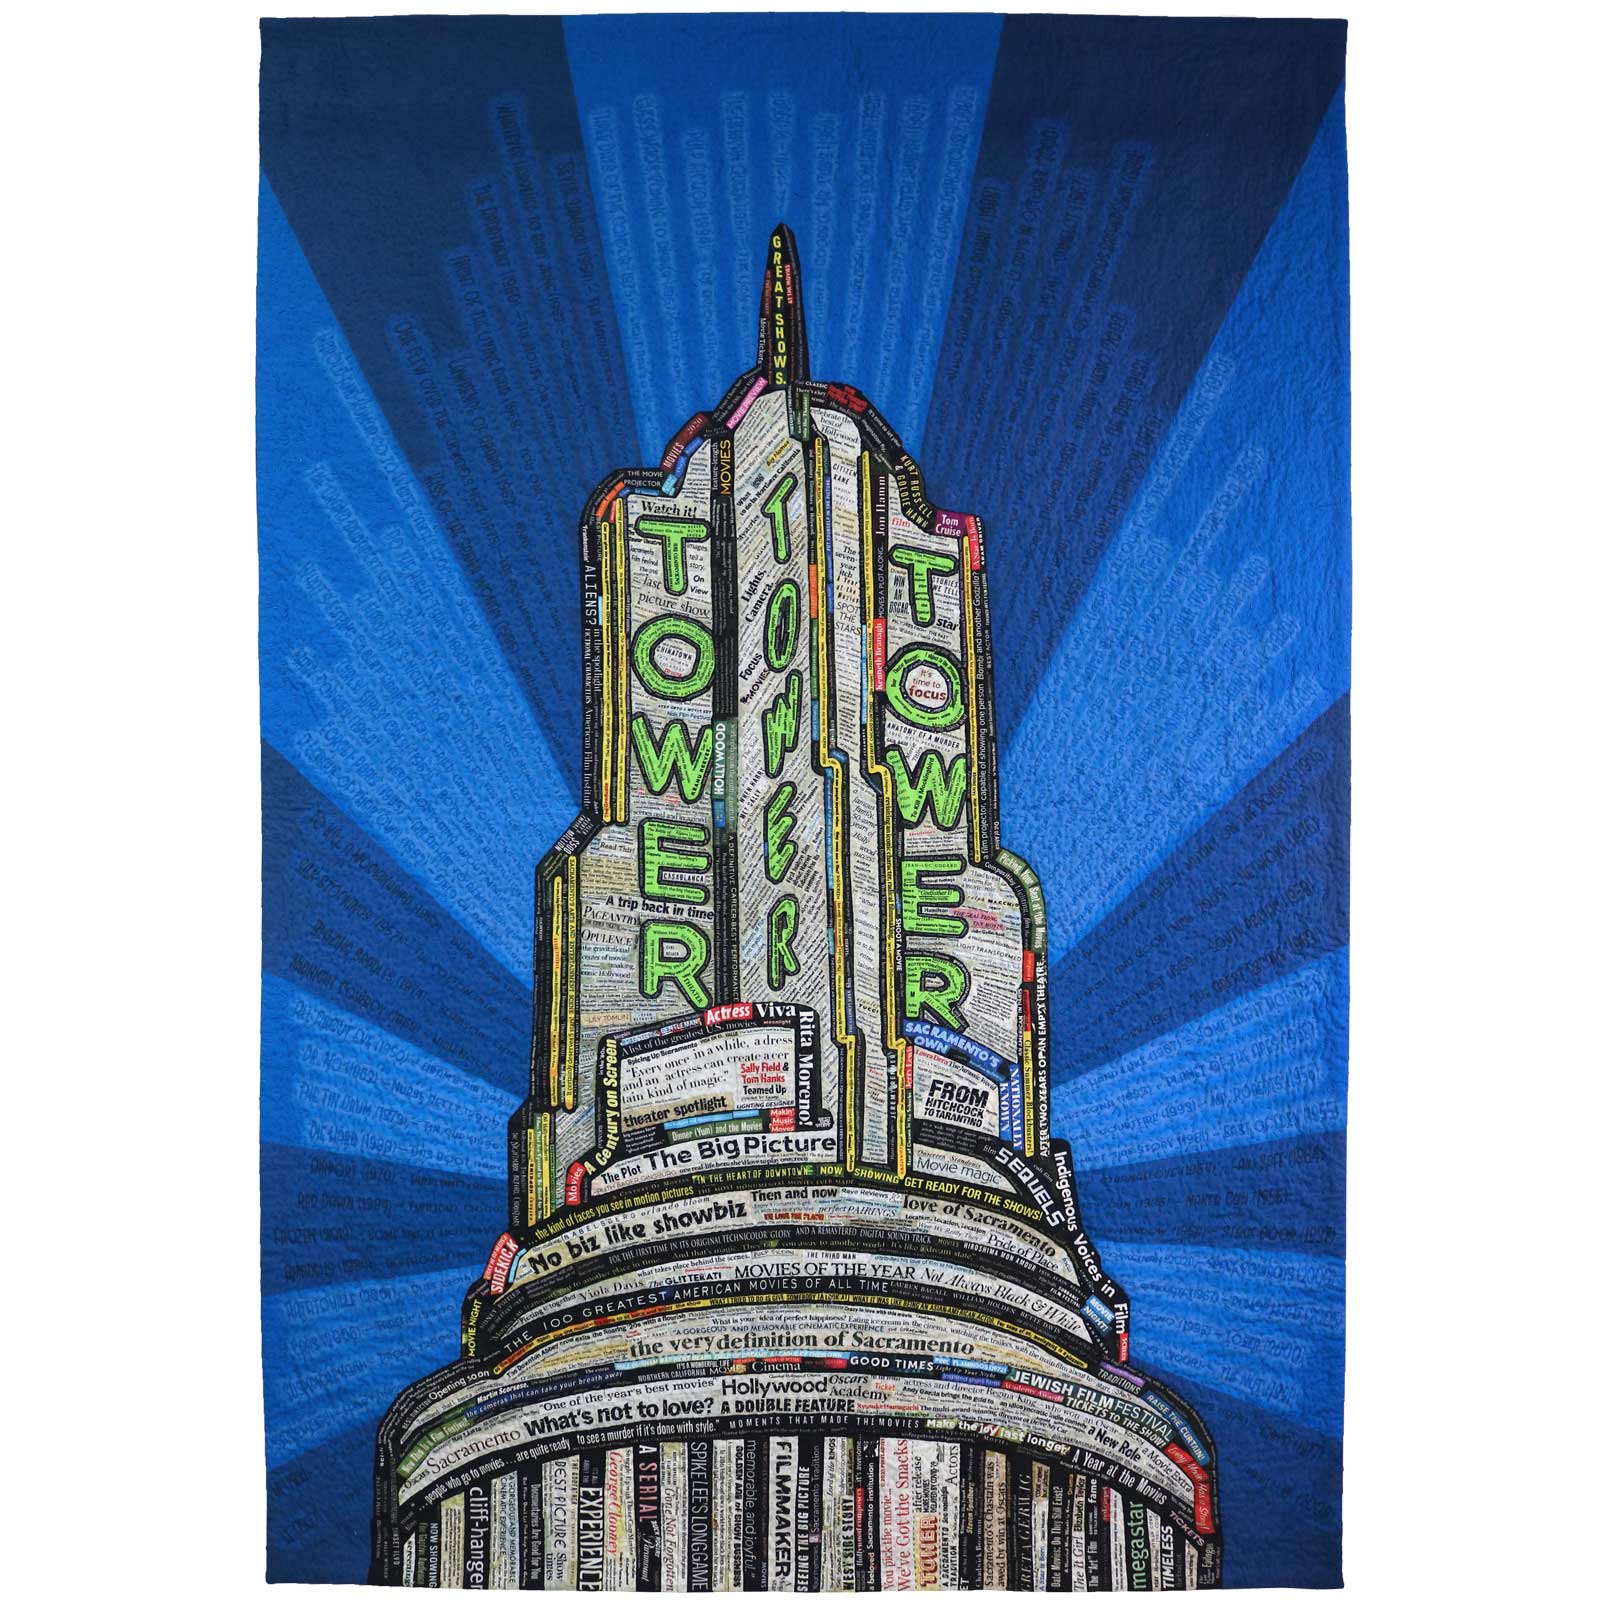
1600SQ_Tower