
It finally happened. After all these years, I found the need to create my own brush shape in Photoshop. I’ve created many custom brush shapes, but they were just to show people how to do it. But this time it really came in handy. If you are a frequent reader, you may recall that last year I was working with PC (printed circuit) boards to make mini art quilts. Well, I’ve been taking apart phones, cd players, calculators, remote controllers. I have an apple box full of boards in all shapes and sizes (really it’s a beer box, but apple box sounded much more proper). I have a bunch of ideas for using the boards, but I thought I also might like to make some less toxic PC board-related fabric. I set up my tripod and camera and systematically photographed the treasures. I can “cut out” the boards from the background pretty easily using the quick selection tools and occasionally using the eraser to clean up some rough spots. Then I came to a board that I left the pins on. As hard as I tried, I couldn’t get a clean selection of the pins, so it was easier to erase the background between the pins. I was chugging along at it, and thought if I had a rectangle eraser with rounded corners, the cleanup would go much quicker.
Just in case you run into a similar situation, here’s how to do it. There’s a “rounded rectangle shape tool,” so I just created a shape that was a little bit smaller than the space between the pins. Remember, you can change the radius of the rounded corners in the Options Bar.
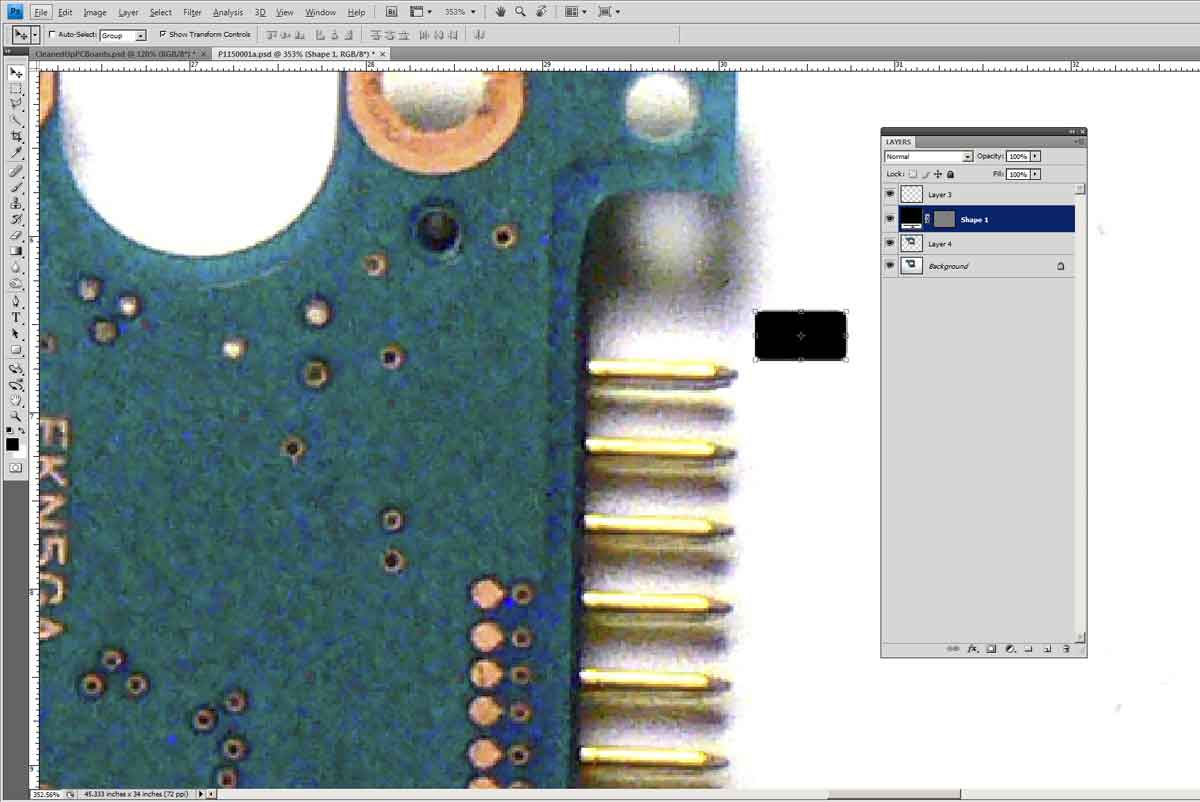
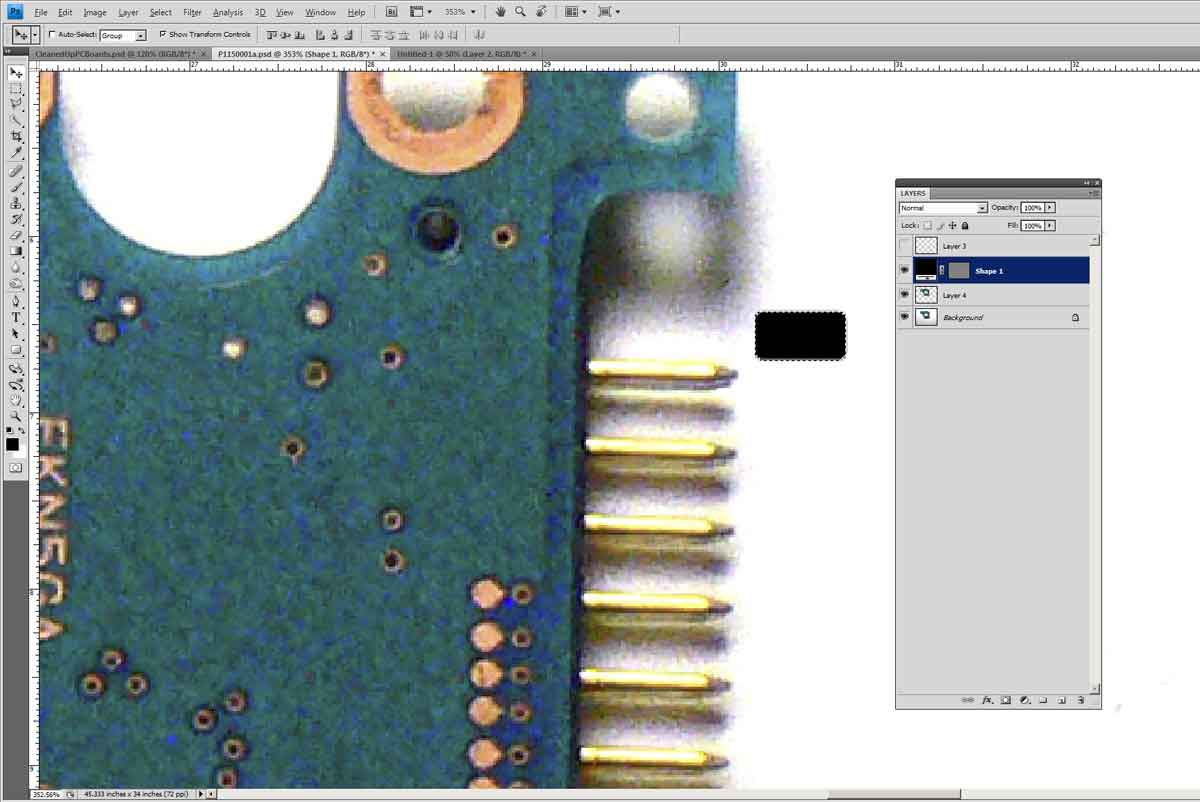
Next, I selected the shape by holding the control/command button and clicking on the shape icon in the layers panel.
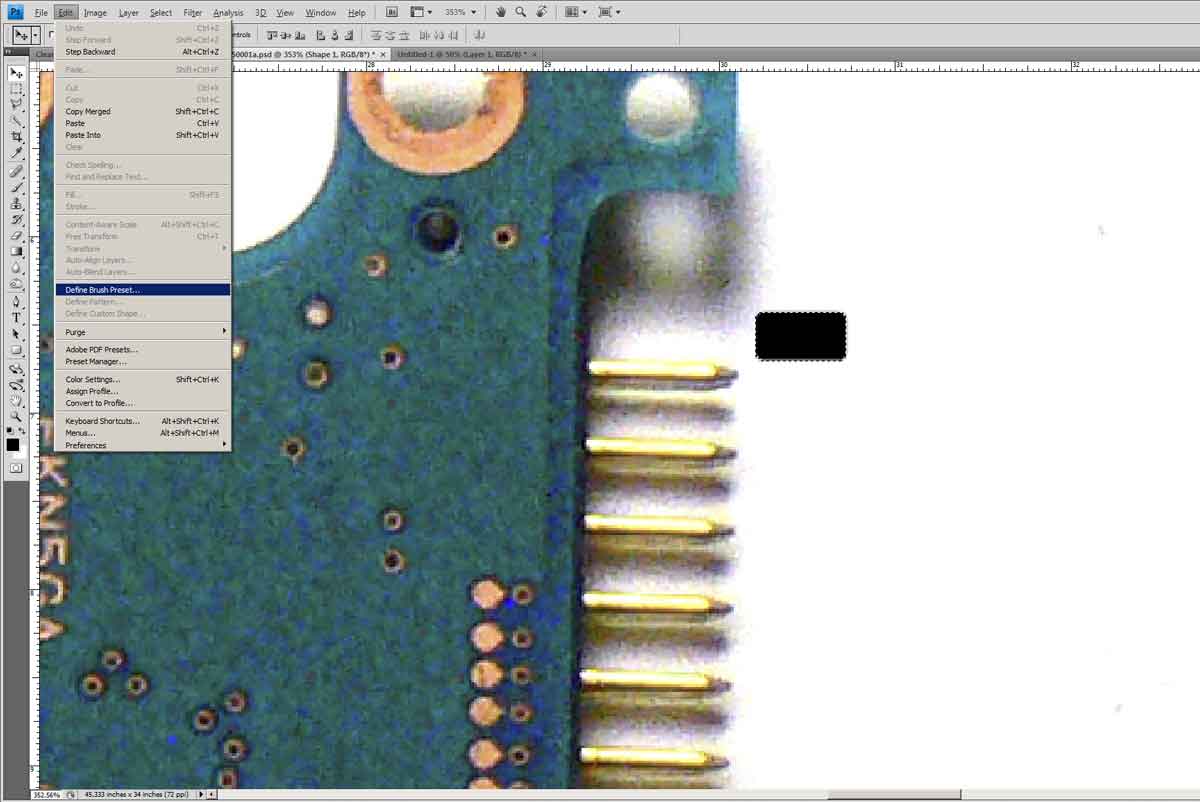
Then select Edit > Define Brush Preset (in Photoshop Elements, it’s Edit > Define Brush from Selection. If that option is grayed-out, click on a non-shape layer in the layers panel, then choose Edit > Define Brush from Selection).
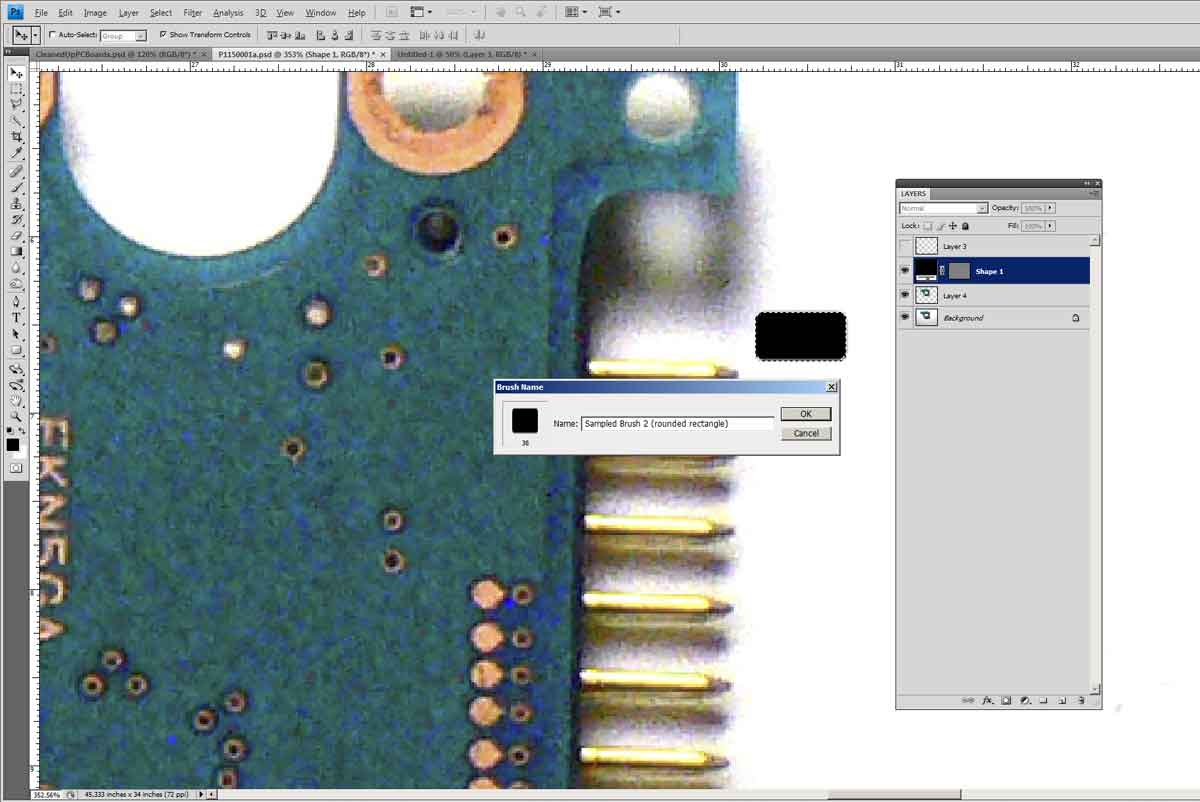
Give the brush a name (or not), and press OK.
Choose the Eraser tool, and click on the brush dropdown menu on the Options Bar. Your new brush shape will be the last one in the list.
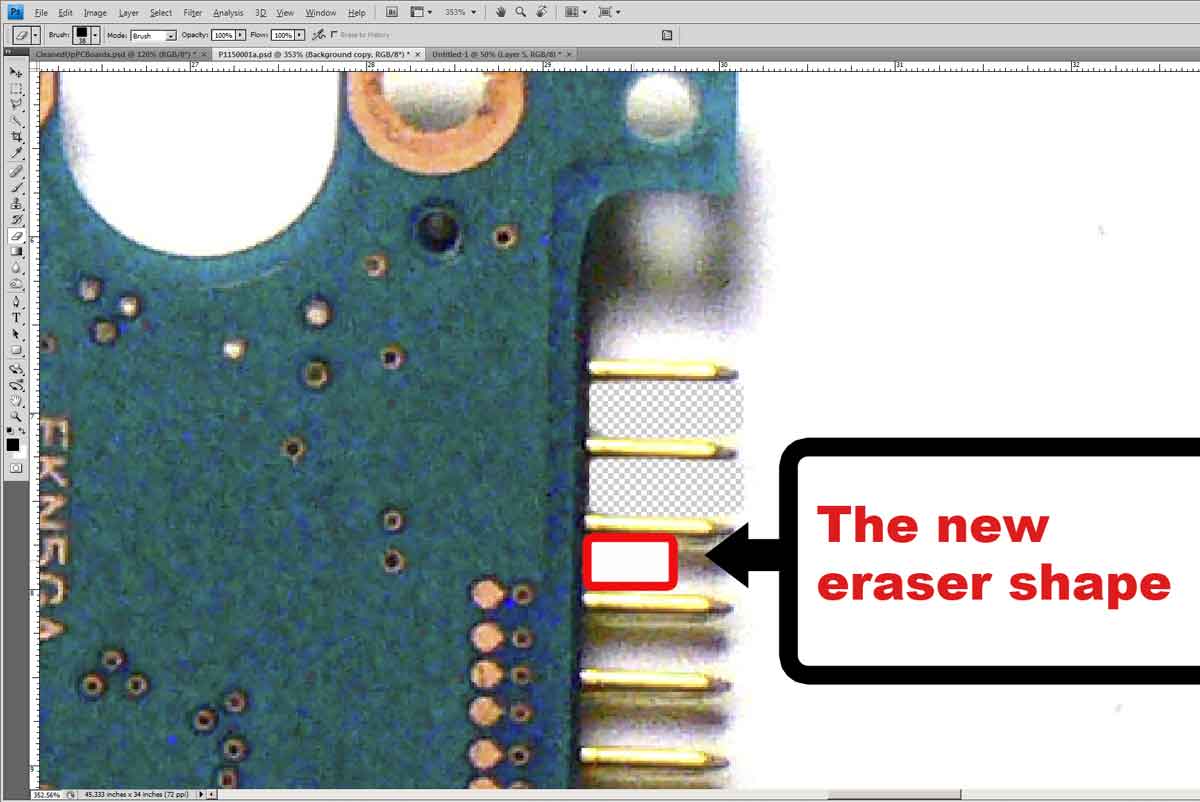
It was so much quicker to use my new shape to erase, that I just had to share it with you. Maybe 15 years from now you’ll find a use for a custom brush shape, too.