
I have learned a lot of new skills during the first week of my internship. One thing that I learned was that when you are uploading photos to the internet, you can resize them so they open quickly. I had used Photoshop before but never to resize photos for the internet. Here are the steps:
1) Open the image you want to work on in Photoshop.
2) Crop or manipulate your image as desired. Save this image.
3) From the Menu bar, click File > Save for Web and Devices (your version of PS may just say Save for Web).
4) Change the longest side of your photo to 800 pixels. (You can resize it smaller than 800 pixels, but the Pixeladies like to use 800). The image size is located near the bottom right corner of the Save for Web and Devices dialog box. After you set it to the size you want it press Enter.
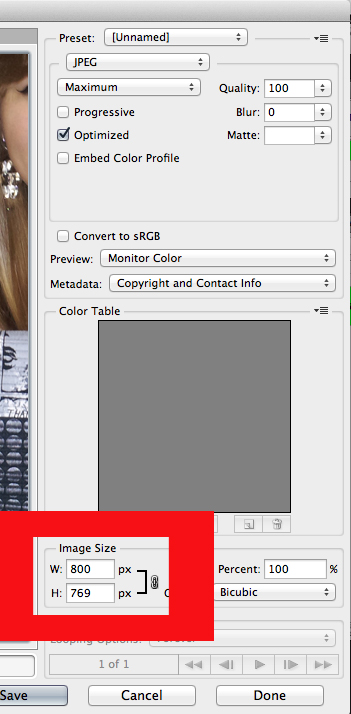
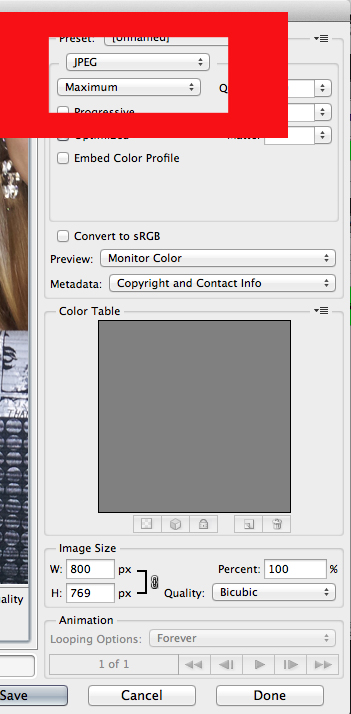
5) Choose the file format. I save my images as a .jpg.
6) Click Save and upload your photo wherever you need it!
One response to “Tech Tuesday: How To Resize Images In Photoshop”
Good instructions Kelsi! Now, if I do it over and over again I might remember the steps. Can you do a Tech Tuesday and explain how to resize in a batch so if I have 325 images I could do them all at once? Is that even possible?