
Obscure faces? Now why would anyone want to do that?! Well, this is Kris with a Tech Tuesday post on just that topic. “But wait,” you say. Aren’t the Pixeladies taking a break from teaching and all things Photoshop? Well, yes we are, but I am still working part time for my mother-in-law’s church, and one thing I have to do is make sure no images of minors make it to the Internet (church policy). You may need to obscure a face for your own particular needs, so here are three ways to obscure faces. And since the baby in this photo is my almost 30-year-old (!!) son, Miles, I figure the image is safe to use.
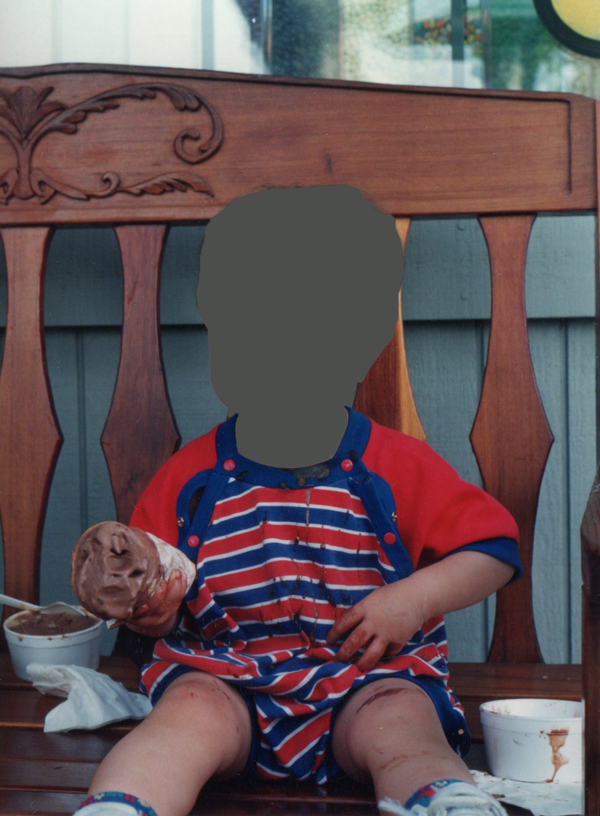
#1 – Gray out Face
It’s simple and quick. It’s also a little jarring, as if we’re trying to protect crime victims.
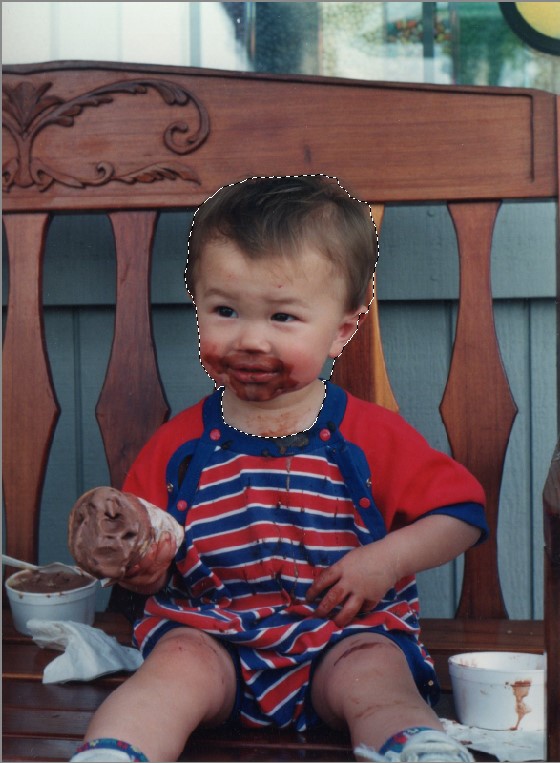
- Select the face as shown in the image above. I used the Quick Selection tool for this image, but use whichever selection tool is easy for you. Heck, use an oval or rectangle, if you want.
- Fill the selection with gray or whatever color you want. I used the handy keyboard shortcut Alt + Delete (Option + Delete) to fill the selection with the foreground color. You can also use the Paint Bucket tool.
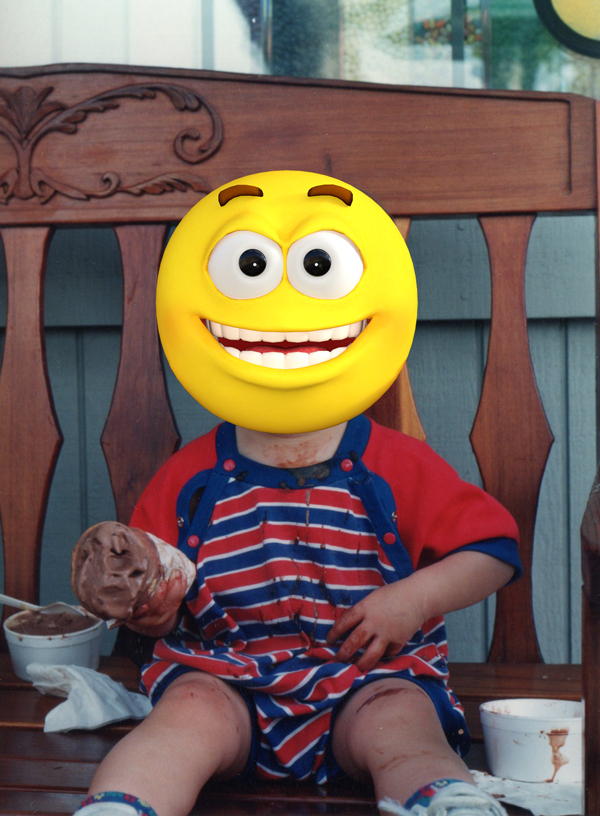
#2 – Cover Face with Emoji
This is apparently the choice of many social media influencers. It’s cute . . . the first thirty times you see one, then not so much. But it’s pretty easy to do and might be fun for a greeting card or slideshow.
- Download an emoji. I found mine on Pixabay.com, which is a great site for copyright-free images and illustrations. I just typed “emoji” into the search bar to find several choices.
- Move the emoji file into the image file with the child/person in it. We wrote a blog post about how to do that here.
- Resize and move the emoji so that it covers the face.
#3 – Pixelate Face
This is my favorite method because it has the least impact on the original image and is also easy to do. It still looks like a photo of a kid, but you can’t recognize the face. And that is the point of the exercise.
- Select face. (See #1 for details.)
- Go to Filter > Pixelate > Mosaic to open up the Mosaic dialog box.
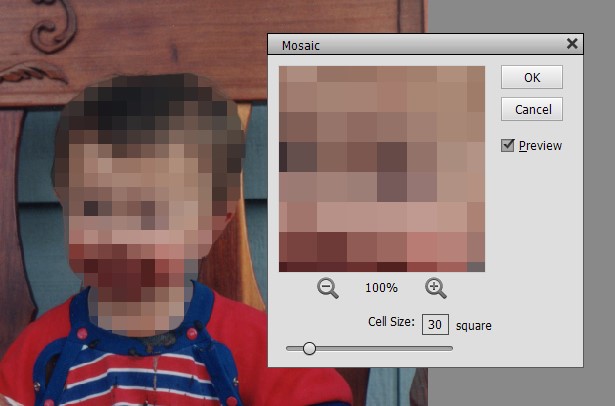
- Move the Cell Size slider bar until you have the amount of obscuring you desire. In dialog box above I have “Preview” checked so I can see how the entire image looks while I am working on the selection.
- Click OK when you like what you see.
No matter which way you choose to obscure faces, the process is pretty easy. Now back to sewing!