
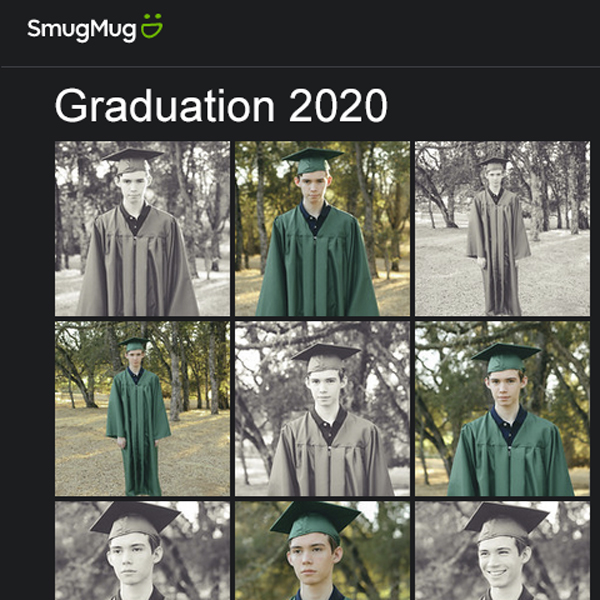
One of the latest trends in photography is to shoot black and white photos. Of course in this digital age, the photos start out in color and then the color is removed with some program or app to create the b/w version. Look at this example from SmugMug.
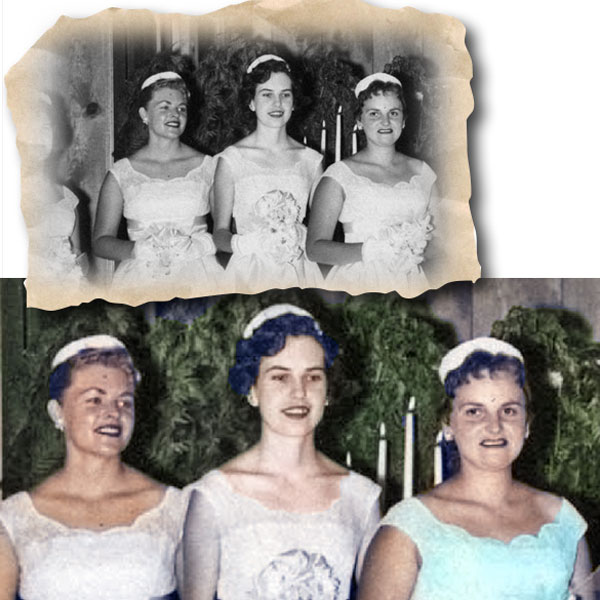
Hand-Coloring of Photographs
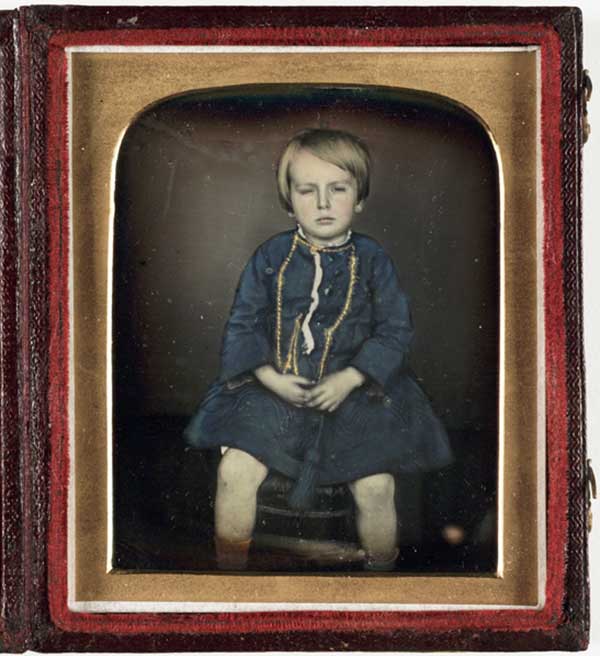
It doesn’t seem that long ago in the early days of photography, before color photography was invented, that people would hand color photographs to make them seem more realistic. Actually, hand coloring started soon after photography was born. It’s fascinating to read some of the history. Check it out here. I like this example from c. 1850 of a hand-colored photo of a child.
Fast forward to the end of the 20th century, and you didn’t need to figure out which medium was best to use on which type of photo. You could colorize the photo with the computer. And in the 21st century, programs like Adobe Photoshop and Photoshop Elements (PSE) will colorize the photo automatically with the push of a button or a click of the mouse.
The One-Step Solution
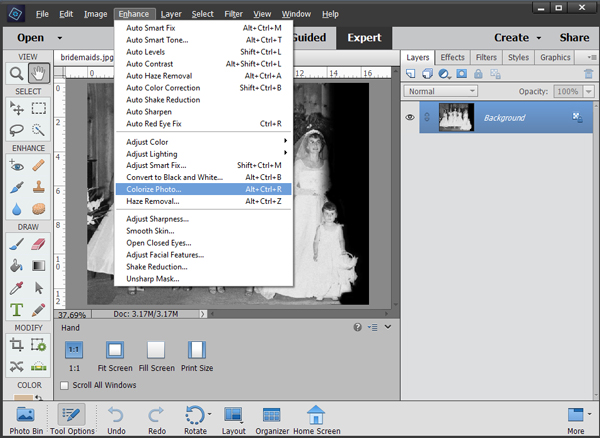
OK, in all honesty, the one-click versions need a little help. So here’s how we use Photoshop Element’s Colorize Photo feature. First, open a black and white photo. Then from the menu bar, choose Enhance > Colorize Photo.
A dialog box will open with four versions of your photo automatically colorized for you. Click on them to view them in the larger preview window. If you like one of these choices, click OK and you’re done. Easy as pie.

The Multiple-Step Solution
There will be times when the one-step solution just isn’t enough and you’d like to adjust the image a bit more. In these cases, click the auto/manual button in the upper right to move to the manual mode. The dialog box will now have some instructions on the right side.
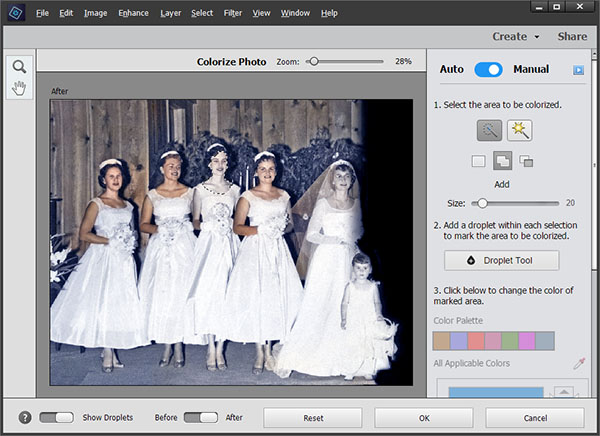
The first step is to select the area you want to change or colorize. In this example (yes, the bride is my mom), the face of the bridesmaid in the middle wasn’t colorized as much as the others. So let’s fix that by selecting that part of the body. You can choose the Quick Selection tool or the Magic Wand tool. I prefer to use the Quick Selection tool (the icon on the left).
Click and drag your mouse over the area, PSE will try to select what it thinks you want to change, and the dotted selection outline will appear around the area. You can use the add/subtract buttons below the selection tool in conjunction with dragging the mouse to modify the area. In the image below, I selected the face that I wanted to change.
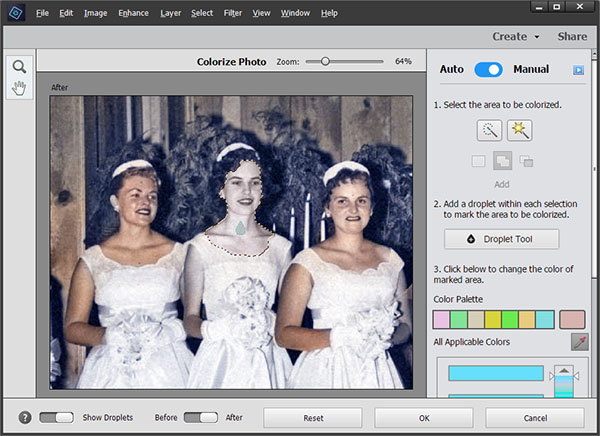
When you have a good selection, proceed to step 2. Click on the Droplet tool button and click somewhere inside the selection. A drop icon will appear on the image.
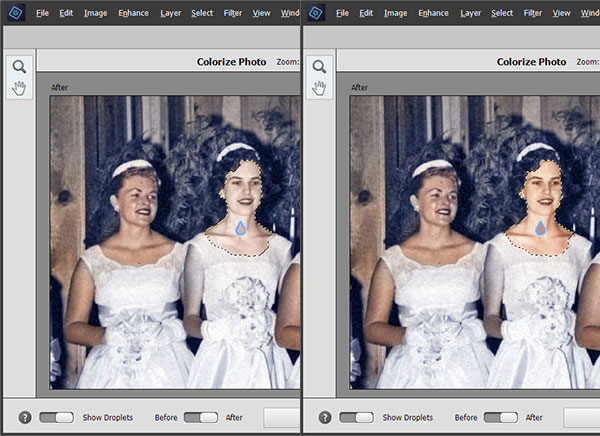
In step 3 you choose a color. If none of the colors is what you want to use, and they usually aren’t, click on the eyedropper icon. Then move your mouse over an area in the image with the color you want to use. Since I want the face to look a bit more like the other bridesmaids, I’ll click on a light part of one of the other faces. It might take a second or two, but PSE will fill the face with the new color. If you don’t like the result, click on another area. You can keep sampling and changing the face color until you are happy. Below are two versions.
Change Multiple Areas
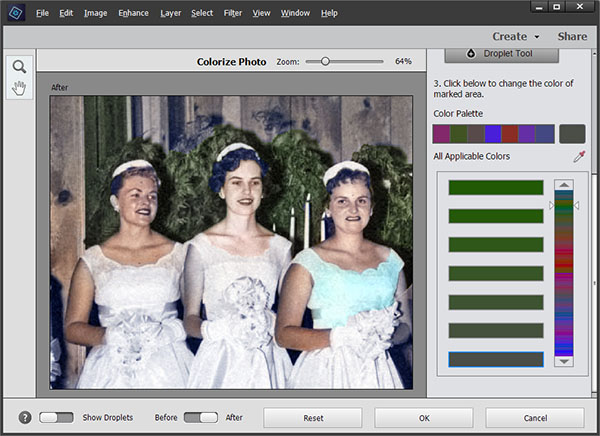
Move on to each area you want to colorize and start over again at Step 1. Before selecting a new part of the photo, make sure to click on the New button (the plain white rectangle). I selected part of one of the dresses. If one of the applicable colors looks right, click on it. Or scroll through the choice of colors by sliding one of the white triangles on either side of the long color strip on the right. The colors on the left allow you to fine tune the color. Click on one of the colors and PSE will fill your selection.

Continue the process of selecting different areas you want to colorize. In the example below, I have started colorizing the plants in the background. By the way, if those drop icons get in your way, you can turn them off by clicking the Show Droplets button in the lower left. When you’re finished, click OK. PSE will close the dialog box and take you back to Expert mode where you can save the file. Be sure to give your colorized file a new name when saving so you don’t overwrite your original. And, yes, I still need to color all those dresses blue!
There are many other ways to colorize photos in PSE. If you want to learn more, consider taking one of our PSE classes. We’ll be starting up again in February 2021. Click here for more information.