
Years ago, shortly after Pixeladies was born, Kris and I made scarves. Tons and tons of scarves. We took custom orders. We designed them in Photoshop. We printed them on china silk, georgette, and charmeuse. We even sewed the narrow rolled hems by hand. We always wore scarves when we were giving presentations.
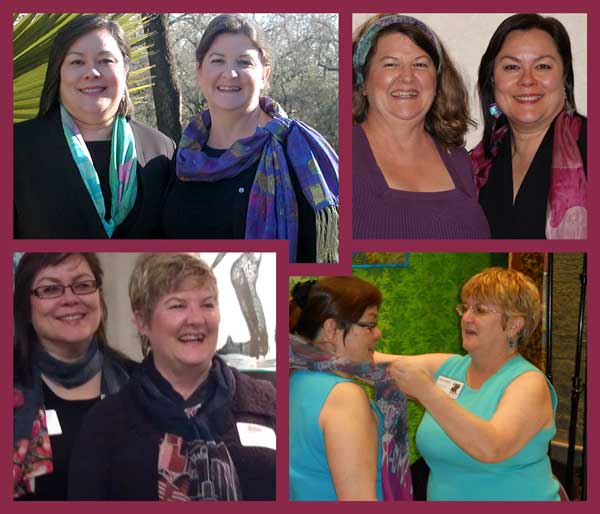
They were really fun to make. Then Pixeladies took a different path, and we started teaching Photoshop online and stopped making scarves. As I was looking through some files, I came across some photos of a scarf I designed, but never made. We used it to explain some of the things you would learn in our digital designing class. Since our class just started, I thought it might be fun to revisit these images.
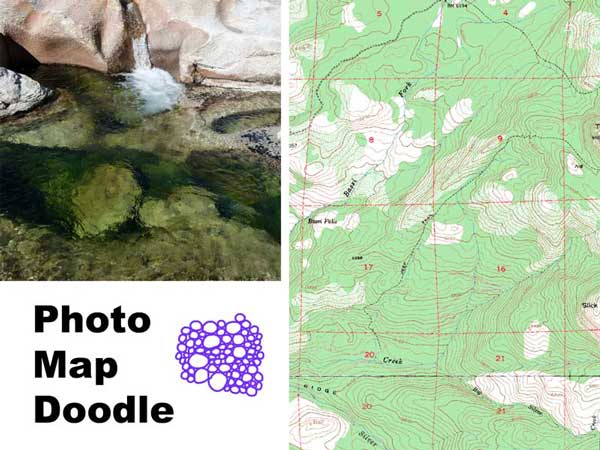
The Starting Images
Like the post last week, we started out with a photo. This time we added a map, a doodle from which we made a seamless repeat, and a custom gradient.
The Gradient
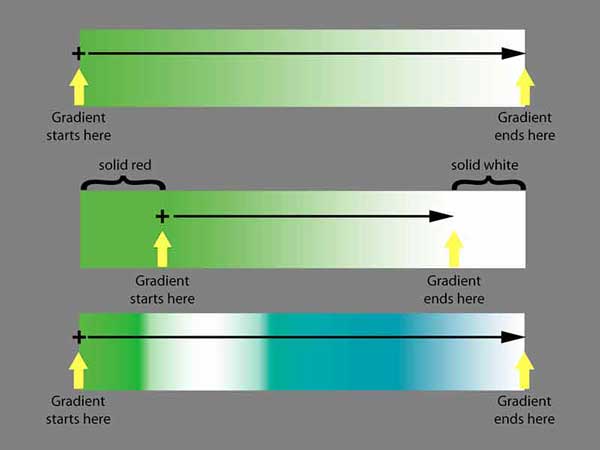
Did you know you do not have to limit yourself to the preset gradients that come with Photoshop and Photoshop Elements? You can customize them just about any way you can think of. In a previous post we created a gradient based on a photograph. Customizing a gradient looks daunting, but we go over it step-by-step in our design class.
The Doodle
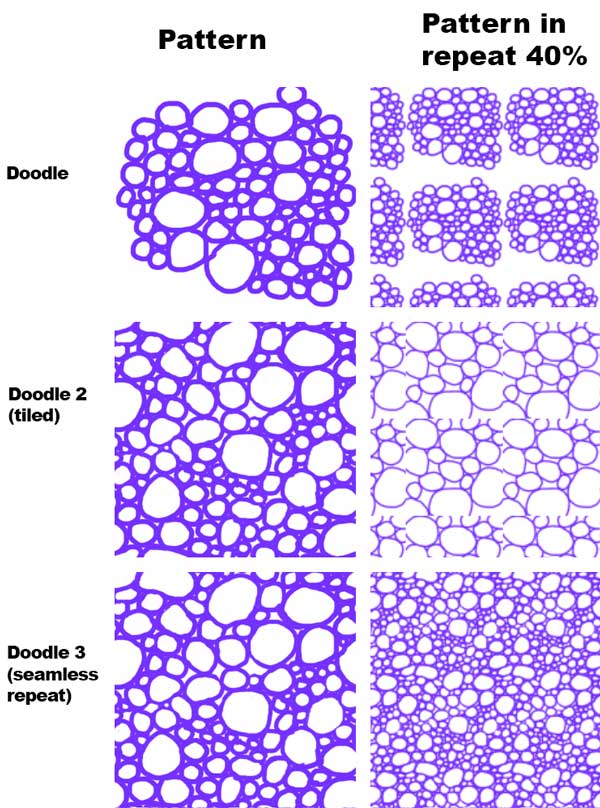
One of my favorite things to do is to create seamless pattern repeats. You know, ones that don’t look like squares of images, but ones that give you an overall pattern. Below you’ll see my doodle; you quilters out there will see I was practicing free-motion “quilting” pebbles. In the left column you can see how each of the three doodles look when they are repeated. The pebbles in the middle row, Doodle 2 (tiled), don’t match up when they are repeated. But you can’t see any seams in Doodle 3 (seamless repeat) when it is repeated.
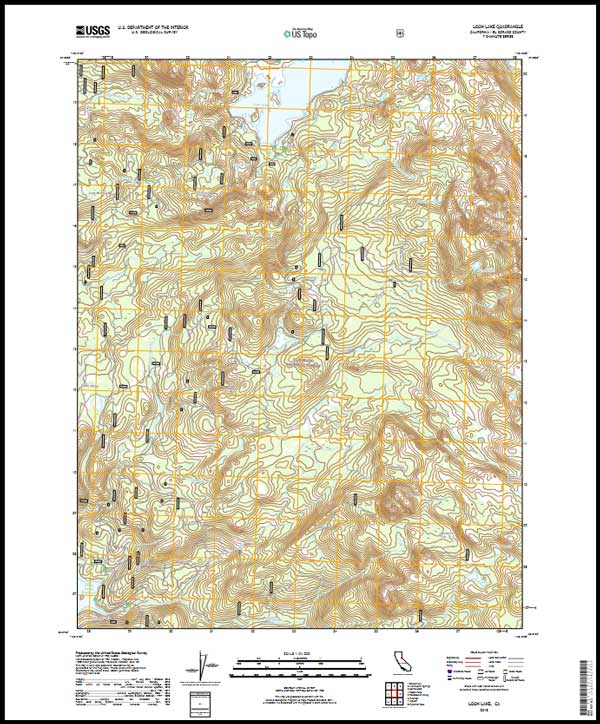
The Map
We love maps, so they often ended up in our scarf designs. Did you know you can download copyright-free maps from the US government?
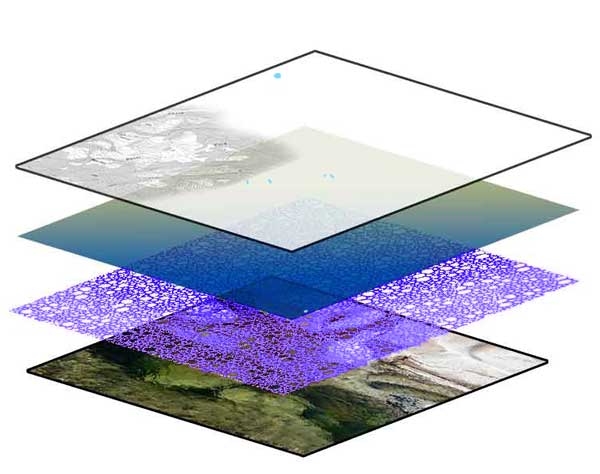
The Layers
In Photoshop and Photoshop Elements, you can combine layers in different ways. The layers are shown below, and the spaces between the layer are mathematical formulas telling Photoshop how the layers should be blended together. They’re called blending modes. We teach you all about blending modes in our Digital Design class (and you don’t even need to know how the math works).
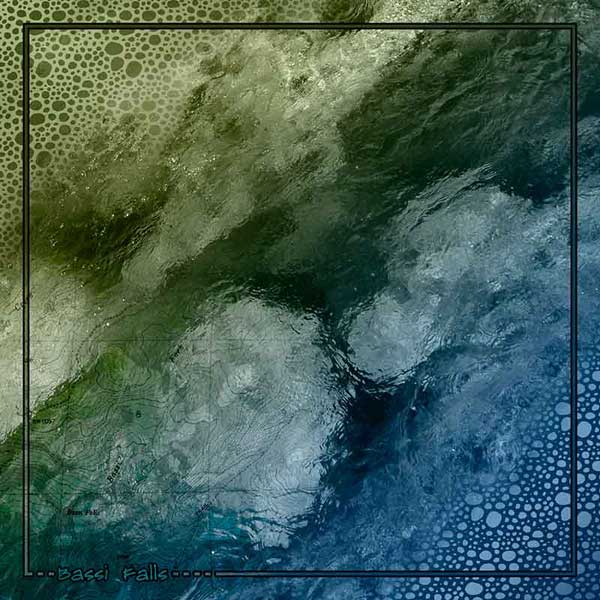
Add a little text and a border, and voilà I’ve got a scarf to commemorate one of my favorite local hikes.
Kris’s comment: Deb, we gotta make more scarves!! They were so much fun to design.
If you want to learn digital designing, click here to read more about the class and to register. There’s still time to join the current class.