
2020 has been a crazy year, so why don’t you try something different this gift-giving season. With a never-ending card, you can capture wonderful memories for that special someone. And Deb’s cool instructions take never-ending cards to the next level using digital images. Along with the written instructions, we have links to a demo video and downloadable templates at the end of this post. To begin with, though, we thought you’d first like some handy tips to go along with the materials
The Theme
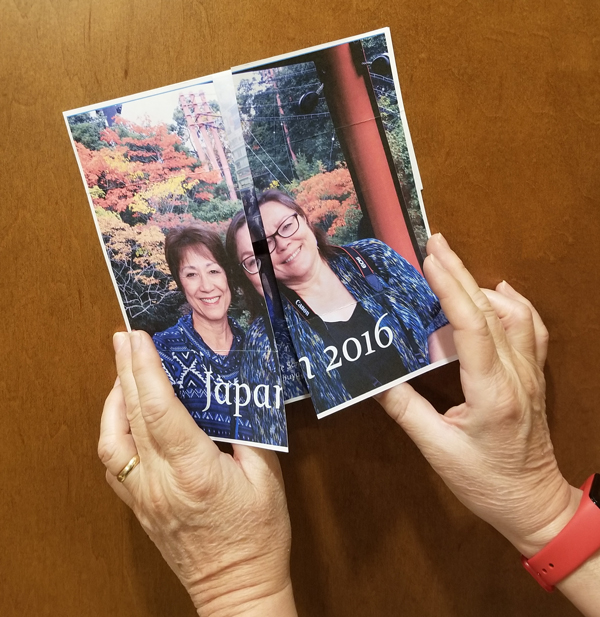
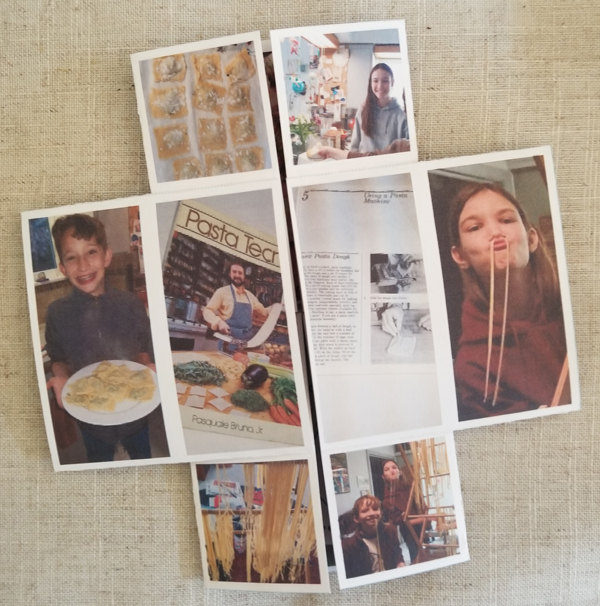
Deb’s instructions make these cards whip up pretty quickly. However, you might want to turn to Kris for tips on what is so hard about this project. For one, try to decide which twenty photos to use! You’re also in big trouble, though, if you make your card with someone else. Let’s just say Kris spent an entire evening with her sister auditioning the photos that went into the card at the top of the page. Themed cards are lots of fun. They can help you narrow down your choices. We’ve thought of a few themes that we’d like to try:
- a favorite trip
- pets you’ve had
- cars (or other collections)
- anniversaries
- grandkids
- your art
- no photos! Think texts, colors, etc.
The Instructions
Click here to download the written instructions. We have a video for you that shows you how to use the templates to create your never-ending card. Click here to watch it.
The Templates
There are four templates to download. They look like this:

Click here to download Page 1.
Click here to download Page 1 back.
Click here to download Page 2.
Click here to download Page 2 back.
The Tips
- Set aside some time to select photos. Yes, we said this earlier, but this tip bears repeating. You can get lost in the memories looking at all those digital photos.
- When picking out photos, remember that you can zoom in on a particular part of the photo to make it fit nicely into the template.
- Search your paper photos, too. If you have some great “real” photos, just scan them into the computer to use in this project.
- Use the bone folder/dinner knife. Sharp folds do make a difference, especially with photo stock paper. Make sharp creases in BOTH directions.
- If you use repositionable glue stick (Kris loves this for our regular work), make sure you let the glue set properly before using the card. Trust us on this one.
- Pay special attention to “turn” #2. If you don’t fold it in the correct way, you will get some upside-down photos. The video is particularly helpful in showing how to “unfold” the card. Here’s what the card should look like after the second “turn.” You’ll notice it is no longer a square:
Have fun with your never-ending cards! By the way, we’ve set our teaching schedule for the first half of 2021, so click here to read more about our Photoshop Elements classes.
2 responses to “Make Never-ending Cards Using Photoshop Elements”
Pretty cool. Thanks for the gift.
Thank you. If you make one, Nancy, please share a photo with us.