
This is Deb with a post on what we like to call “digital stencils.” In an earlier post, we showed you how to use the Cookie Cutter tool in Photoshop Elements to “cut” your photos into shapes. But you can also create your own stencils by creating “masks.” You can use many tools to create masks–Shape tools, Selection tools, and even brushes. If you change the opacity of the mask, you can get some pretty interesting effects, like images that fade into the background. One way to do this is with Clipping Masks. A mask in Photoshop speak is akin to a stencil.
“Real” Stencils
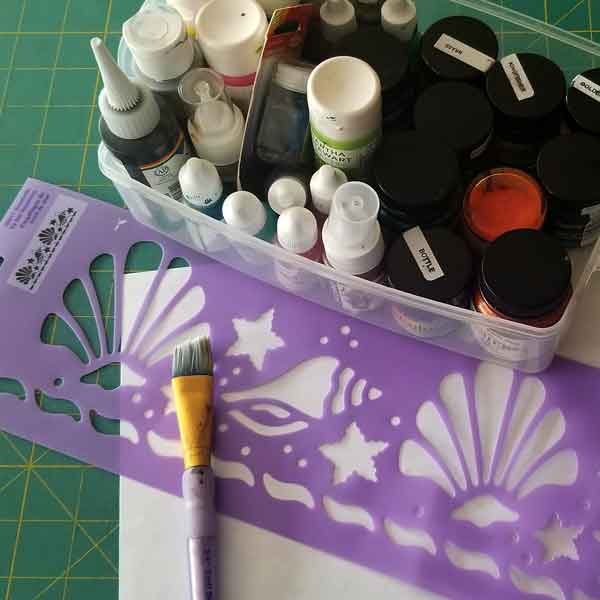
With a real-life stencil, you fill in the empty spaces and create the shape. If you’re really good at it, you can regulate how thick the medium is or whether the edges are sharp or not. It’s the same in Photoshop Elements except it’s a lot cleaner.😉
Clipping Masks = Digital Stencils
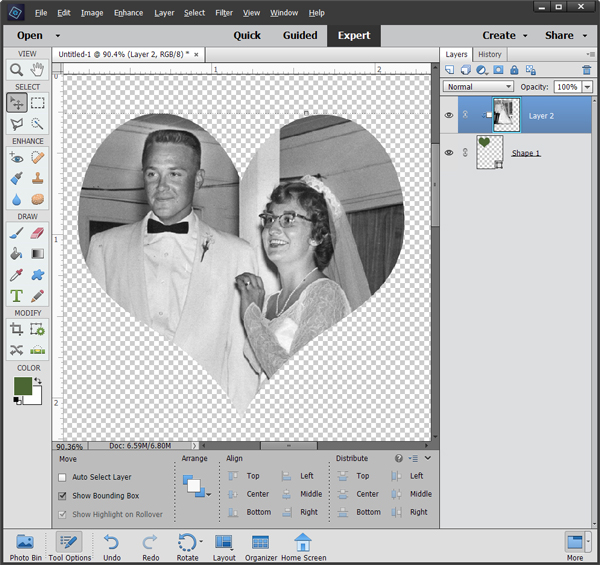
To create a clipping mask (the digital stencil), you need two layers. The top layer will be the “paint,” and the bottom layer will be the “shape.” With Photoshop Elements, a photo can even be the “paint!” Right click on the top layer in the Layer Panel and select “Create Clipping Mask.” In one click you have plopped your “paint” down and removed the “stencil,” leaving you with an image in the shape of the stencil. In the example below, my “paint” layer is a photo of my parents. The “stencil” layer is a heart created with the Custom Shape tool. Right-click on the photo layer and choose create clipping mask. Voilà! A photo shaped like a heart.
Faded Stencils
The clipping mask is a great Photoshop feature, but what if you want to fade the edge—you know like those photographs that fade into the background? With real stencils, you can use a sponge to lightly dab the ink on the stencil. In the digital world, there are many ways to to do this. If you like the ability to be creative, try this technique using a brush for fading an image into the background. Here are the steps:
Set Up the Workspace
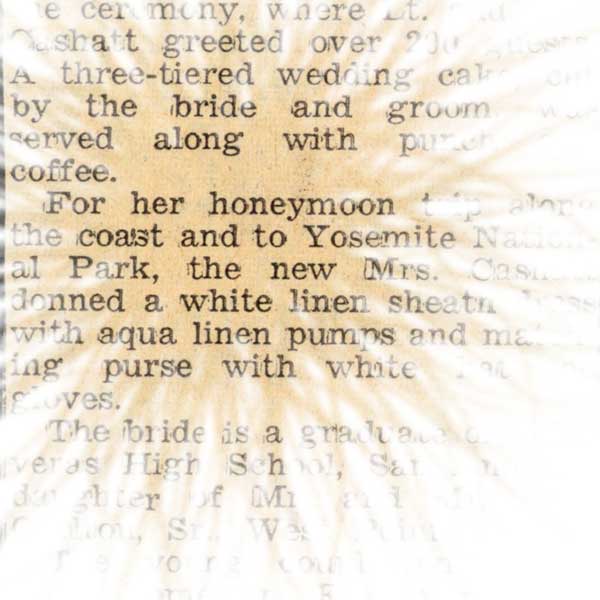
- Open an image you want to fade (in my case a newspaper article) and a new blank (clear) image.
- Set your color swatches to the default black and white.
- Use the Layout button at the bottom of the workspace and select “All Column” to place the image of the newspaper clipping and the blank image side by side.
Choose the Brush
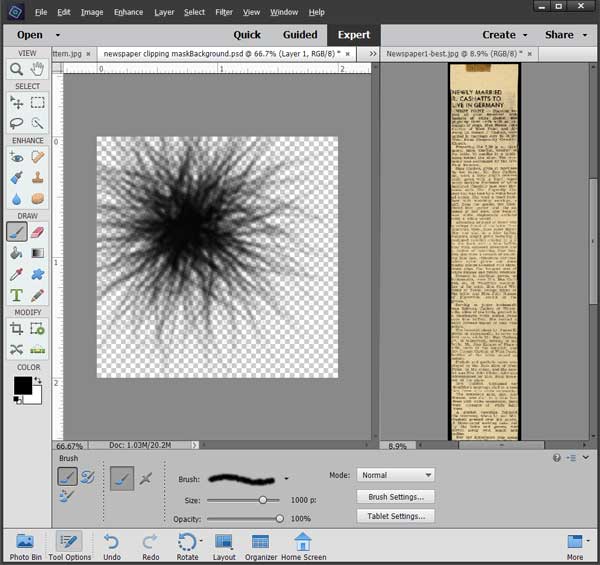
For this example, I drew a design with a brush that’s not 100% opaque. I chose a brush with a tip that sort of looks like a starburst. Pick a brush that has a variation of opacity in it to achieve a similar effect.
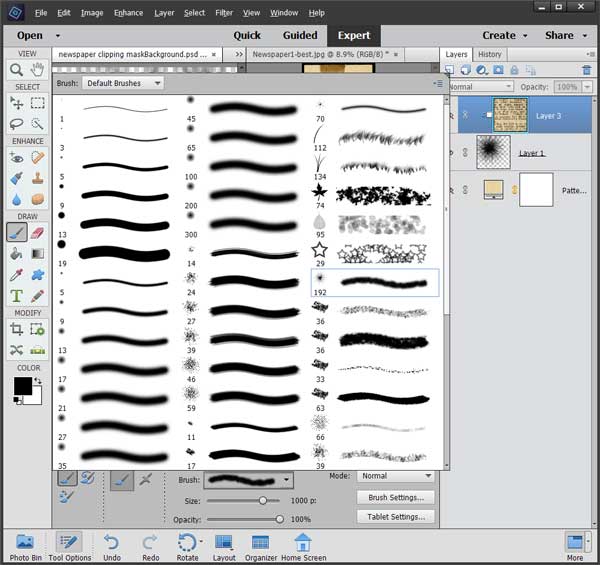
Tap the cursor (click with a mouse) to draw “dots” of that brush tip on the blank canvas. You’ll notice that the “ink” is not solid black. This brush has a feathered edge, which means parts of the brushstroke are not full strength. You can see the gray and white checkerboard (Photoshop’s designation for clear, not white) through part of the brush strokes.
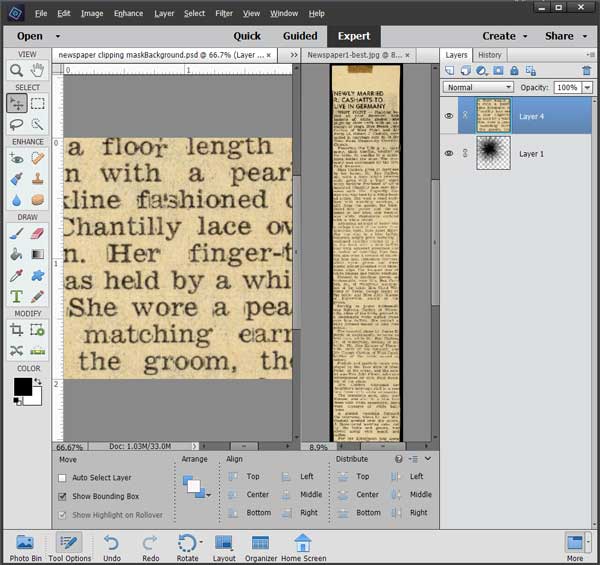
Using the Move tool, click and drag the newspaper article to the new blank image. You will now have 2 layers in that new image: Layer 1 (the brushstrokes) and the layer with the article. If your image is not on top of your brushstroke layer, then go to the layer panel and drag it to the top of the layer stack.
Create the Digital Stencil
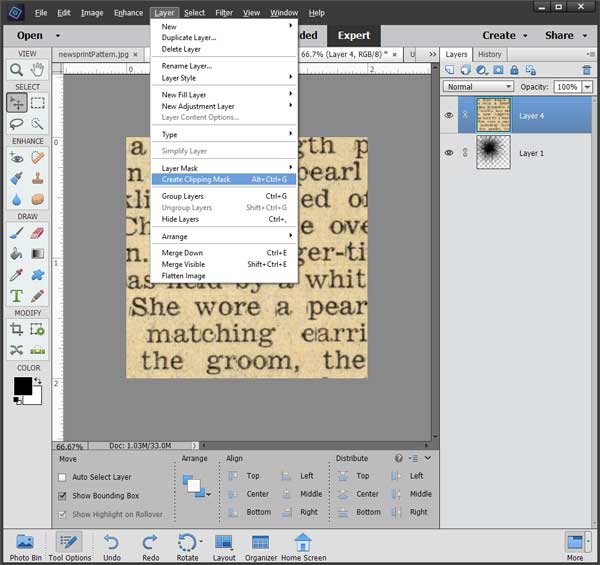
Make sure the “paint” layer (here the newspaper article) is the active layer. From the Menu bar, choose Layer > Create Clipping Mask (or right-click on the upper image and choose Create Clipping Mask.)
Photoshop will mix your image (in my case the newspaper article) with the brush strokes. Wherever the ink was solid black, 100% of the image will appear, wherever there was no ink, none of the image will be visible. But where there’s a shade of gray, part of the image will appear. Isn’t that cool? Don’t you wish real-life stencils worked this slick?
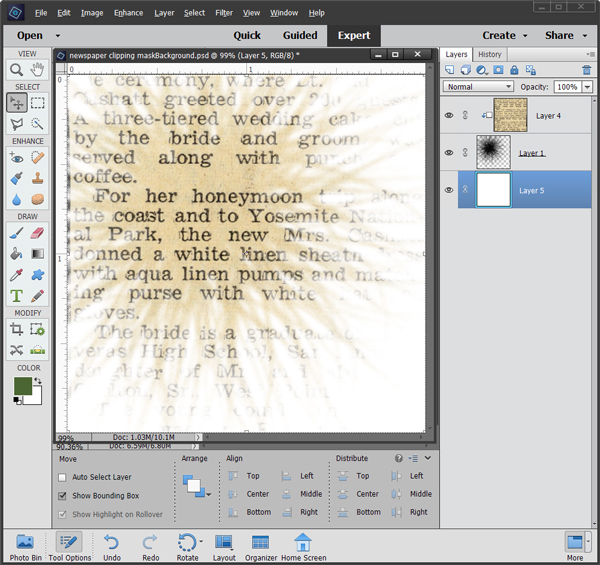
Move the Digital Stencil
Since there are two layers, you can change the position of either the mask (the brushstrokes), the image, or both with the Move tool. Notice the order of the layers in the Layers panel. The newspaper article (object to be clipped) is above the mask shape (the starburst brushstrokes). The object thumbnail is indented and has a white box with an arrow to the left of it.
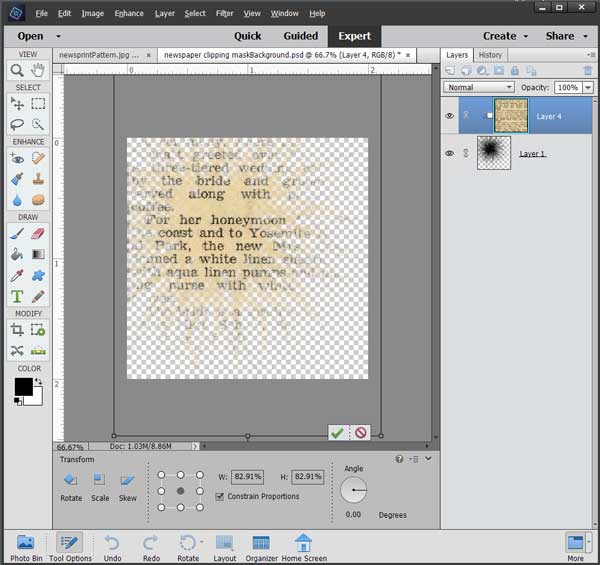
If you move or resize the newspaper layer, it will change which part of the newspaper article is visible. If you move the brushstroke layer, it will change where the visible part appears on the page, and what part of the text is visible. To move both parts as one unit, link or group the layers. And don’t forget to click the green check when you like the placement. You can also add a layer of solid color for the background if you like.
To learn more about working with Photoshop, consider taking a class from us. The classes are online, so you don’t even have to wear a mask (the face kind) to class! Find out more here.
One response to “Digital Stencils the Photoshop Elements Way”
clipping mask
a computer to do the digital stincil
an image you are using