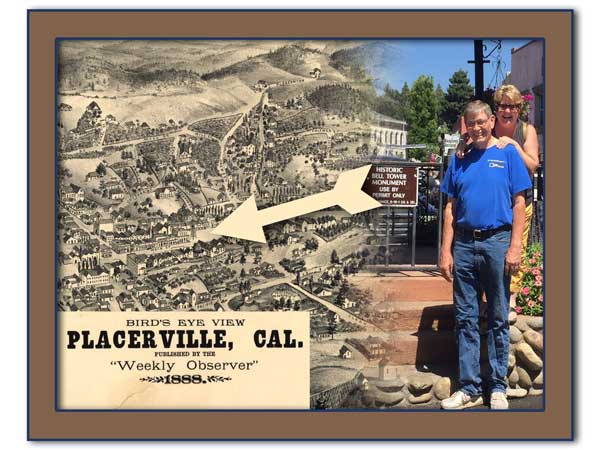

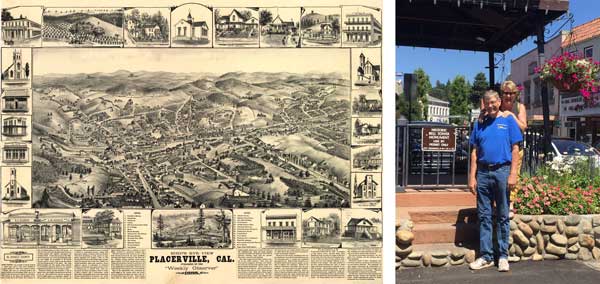
It’s Deb, back with a slick way to put two images together with a fade effect. I have a photo of Dave and me in front of the Bell Tower, a historical monument in Placerville, California. Then I found a wonderful map of Placerville* from 1888 which actually shows the Bell Tower. I want to fade the image of Dave and me into the map photo. The process is pretty straightforward. Just make sure you have two images open in Photoshop or Photoshop Elements before you begin.
Prepare the Images
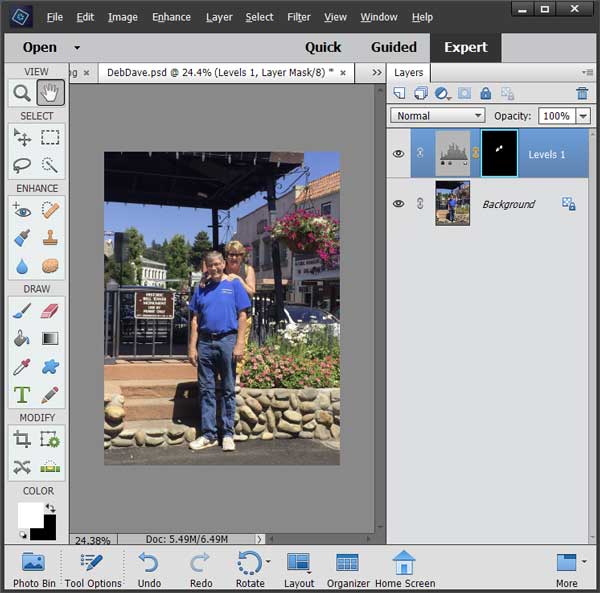
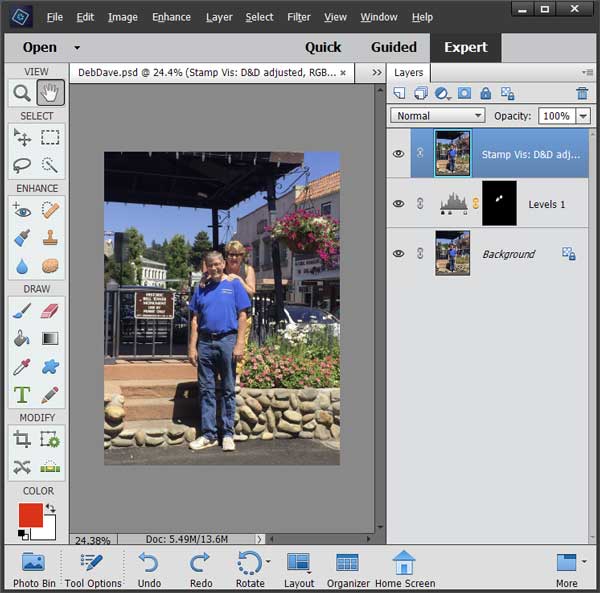
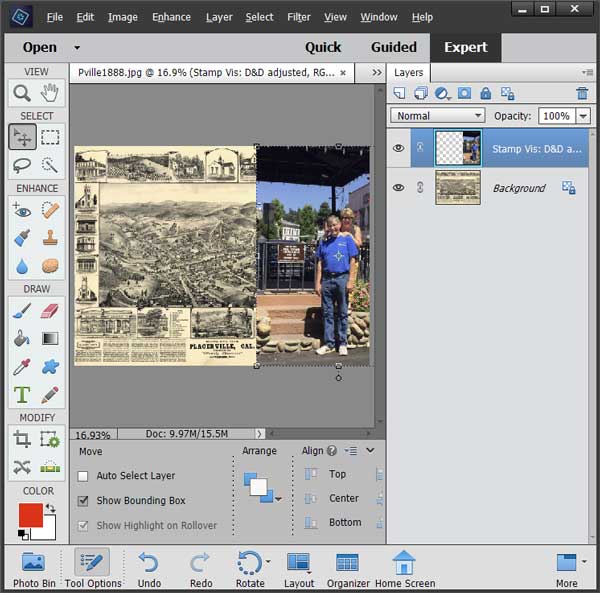
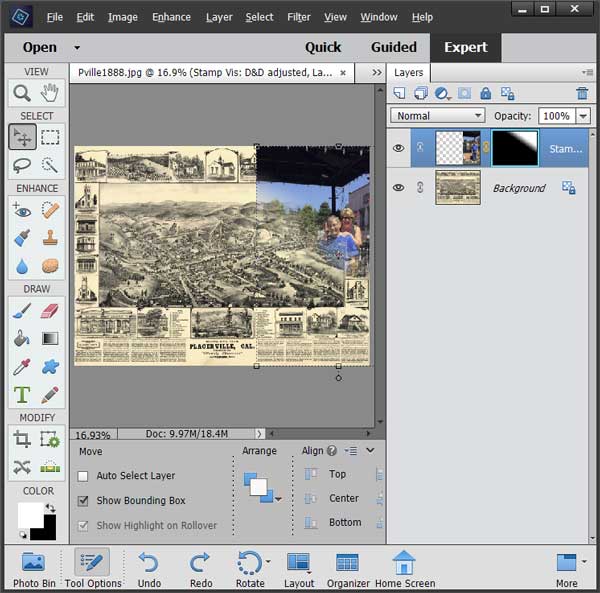
In the image with me and Dave, I had used an adjustment layer to lighten our faces, and I want both the adjustment and the photo of us to be used in this collage. In a previous post, I showed you how to create a “stamp visible” layer that combines everything you see onto one layer. Click here to read that post. The images below show the Layers panels of the photo file before and after creating the “stamp visible” layer. If you have multiple layers in either of the images you want to fade together, do not skip making a stamp visible.
Copy One Layer to Another Image
There are a couple of ways to copy one image onto another. You can use Kris’s method of first arranging the images into columns before copying. (Read about docking vs floating windows here). Using the Move tool, drag the desired layer (either the background layer or your “stamp visible” layer) to the other image. Or you might want to try this alternate way to copy a layer to another image. Kris just learned this technique and is still jumping for joy at how fast it is. Read about it here. In either case, I ended up with two layers in the map image: the photo and the map. If you look at the Layers panel in the image below, you will see that I dragged the “stamp visible” layer from our photo to the map image.
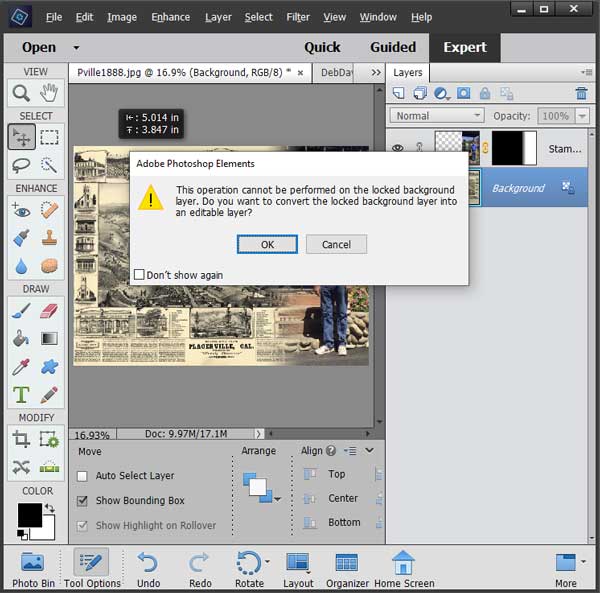
If you want, you can resize either or both layers with the Move tool. Just a reminder, the background layer is locked. If you try to move it, you will get the following message. Just click OK, and Photoshop will rename the layer and unlock it.
Create the Faded Merged Image
- Make sure the upper layer is the active layer (blue).
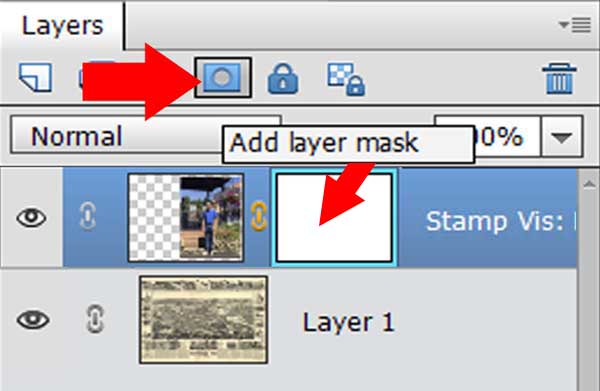
- Add a Layer Mask to that layer. To do that, click on the icon showing the blue rectangle with a gray circle. A white rectangle will appear on the active layer.
- Select the Gradient tool. Make sure it has the settings shown below. (Please note: if the gradient thumbnail in the Options bar is black is on the left side, check the reverse box). Click and drag horizontally from right to left starting somewhere in the right image. I started at the right side of the sign and let off the mouse just before the left edge of the photo of me and Dave.
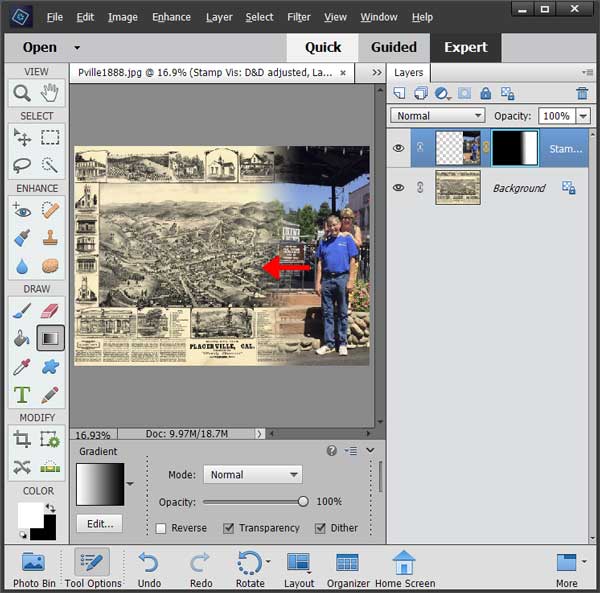
There are many effective looks you can achieve to fade one image into another one so experiment. The distance you drag will be the faded area. You can also drag in other directions. This is what it looks like if I drag towards the lower left.
Add Additional Elements
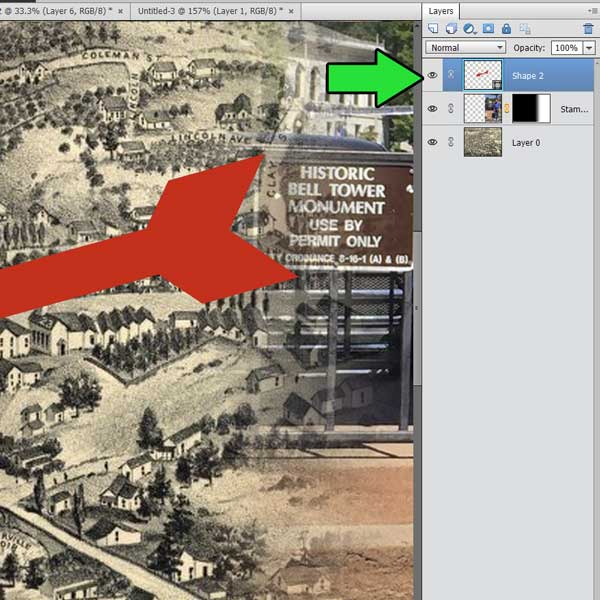
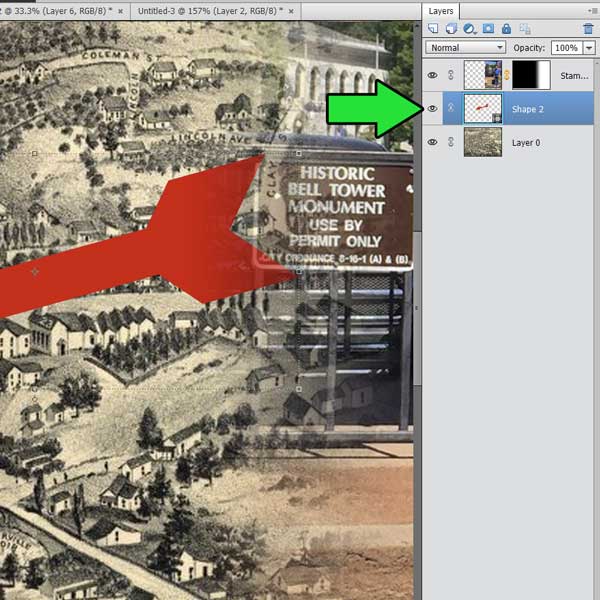
If you want to add more graphics or text to your collage, I have one more tip for you. The order of the layers matters. I added a red arrow to this image. If the arrow layer is above the layer with the gradient mask, it’s a solid red arrow. If the arrow is below the layer with the gradient map, the right side of the arrow is also faded into the other image.
Have fun playing with multiple images. If you want to learn more about working with Photoshop Elements and layers, check out our online classes at www.pixeladies.com/classes.
* By the way, you can find wonderful maps in the public domain in the US Library of Congress map collection. Click here to peruse their collection. Warning: this is an easy way to spend a lovely afternoon NOT doing other things!